

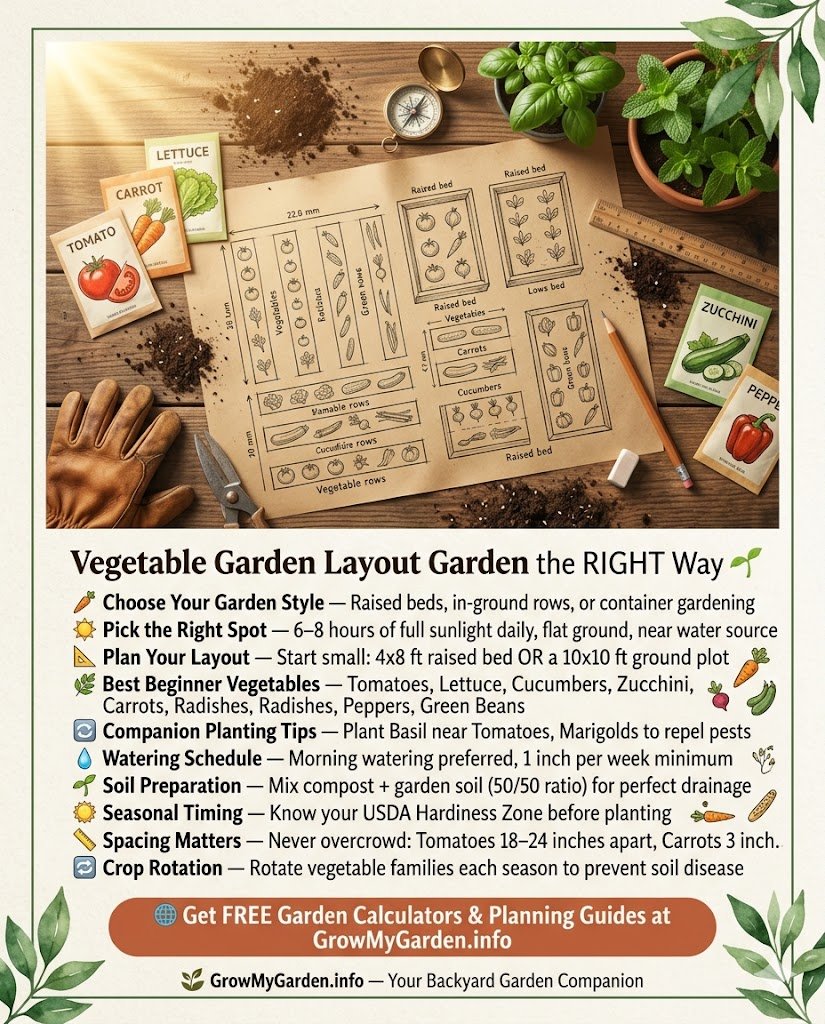
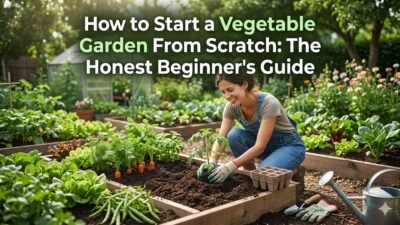
Vegetable Garden Layout for Beginners: Plan Your First Backyard Garden the Right Way
Starting your first vegetable garden can feel exciting and a little confusing, especially when you are unsure where each plant should go. A smart vegetable garden layout helps you use your backyard space wisely, give plants enough sunlight, and make watering and harvesting much easier. You do not need a perfect garden or expensive tools to begin. With a simple plan, good garden spacing, healthy soil, and the right companion planting choices, your first backyard garden can grow beautifully. This beginner-friendly guide will help you design a practical backyard garden setup, avoid common layout mistakes, and start growing fresh vegetables with confidence from the very first season.
If you are thinking about starting a backyard vegetable garden, the layout is the first thing you need to figure out, not the seeds, not the tools, not the cute little plant markers. The layout decides everything else. Get it right from day one and you save yourself weeks of frustration, wasted compost, and the special heartbreak of watching a healthy-looking pepper plant slowly give up on life because it never got enough sun. Read our complete Vegetable Gardening guide.
This guide is built on real growing experience. Let’s get into what actually works.
Why Your Vegetable Garden Planting Plan Matters More Than the Plants Themselves
Most beginners skip straight to buying seeds, which is completely understandable because seed packets are exciting. But without a vegetable garden planting plan, you end up with tall tomato plants casting shade on your spinach, paths too narrow to walk through without doing a sideways shuffle, and crops packed so tight that fungal problems move in like uninvited houseguests.
A solid beginner garden design is essentially a traffic plan. It tells every plant where to stand, how much room it gets, and how much sunlight reaches it throughout the day. When that structure is in place, plants stop competing with each other and start cooperating.
Before You Sketch Anything: Read Your Yard First
Understanding your space is the foundation of every good garden bed arrangement. Before drawing anything on paper or downloading a planning app, spend one full day watching how sunlight moves across your yard.
Most vegetables need a minimum of six hours of direct sun daily. Leafy greens like lettuce, spinach, and arugula can get by with around four hours, which makes them ideal for slightly shadier spots. But tomatoes, peppers, cucumbers, zucchini, and pole beans are full-sun crops. They want steady exposure from morning through early afternoon or your harvest will disappoint you.
Walk your yard at 9 a.m., noon, and 3 p.m. on a clear day and note which areas stay bright and which fall into shade from fences, trees, or buildings. This simple sun exposure mapping exercise takes about ten minutes and saves you from making a very expensive mistake.
Also check for soil drainage. A low patch that holds puddles after heavy rain will rot roots before they ever establish. Good drainage is non-negotiable for most vegetables, and mulch applied on top of your soil helps regulate both moisture and temperature once plants are established.
Choosing the Right Layout: Three Beginner-Friendly Options
There are dozens of garden layouts out there, but most beginners only need to know three well. Here are the ones that consistently deliver results.
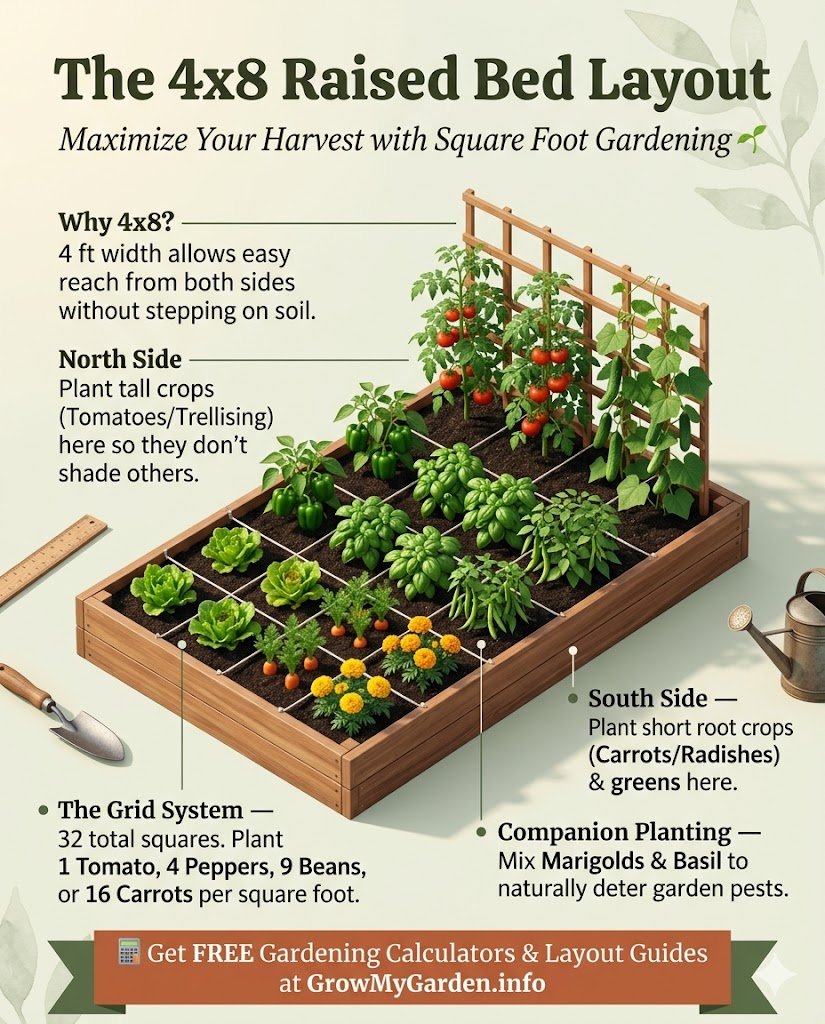
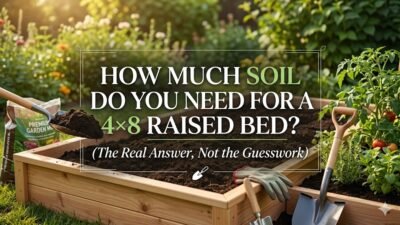
The 4×8 Raised Bed Layout
This is the most popular beginner garden setup in the United States, and the reasons are obvious. A 4×8 raised bed is manageable on a weekend schedule, accessible from all four sides without stepping on the soil, and large enough to produce real food.
The square foot gardening method works beautifully inside a 4×8 bed. You divide the bed into a grid, and each one-foot section holds a specific crop based on plant size. One tomato plant fills an entire square. Carrots fit sixteen per square. Bush beans get about nine plants per square. This grid system gives you a clear plant spacing guide so every inch of soil earns its keep.
Place tall crops like tomatoes, pole beans, and cucumbers along the northernmost edge of the bed. This placement follows the logic of north-south row orientation, which prevents taller plants from casting shade on shorter crops as the sun moves throughout the day. Use the middle area for peppers, eggplant, and herbs. Keep the front, sunniest edge for fast growers like radishes, lettuce, and arugula.
Soil quality matters a lot in raised beds. Fill yours with a mix of quality topsoil, compost, and aged organic matter. Not sure how much to buy? The Raised Bed Soil Calculator tells you exactly how many bags you need based on your bed dimensions and depth. Good compost improves both root growth and moisture retention, which cuts down on your watering schedule considerably. explore more in depth How Much Soil Do You Need for a 4×8 Raised Bed?
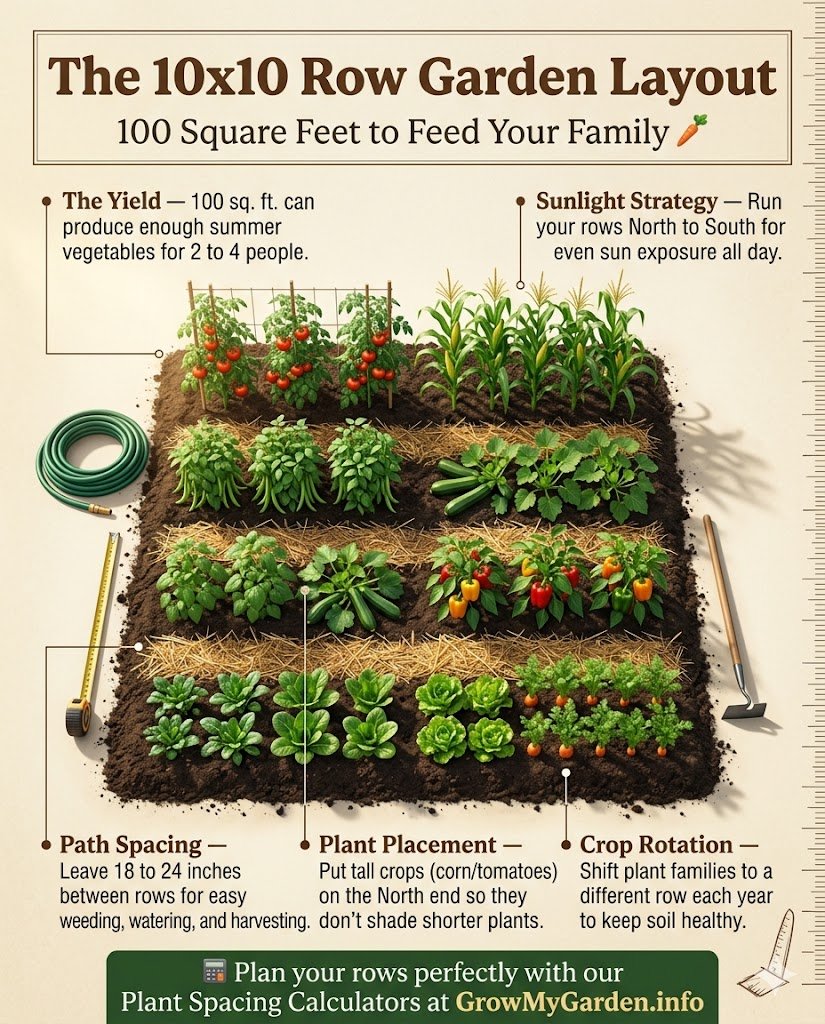
The 10×10 Row Garden
If you have open ground space and want more variety, a basic 10×10 vegetable garden plan using straight rows gives you room to grow warm-season and cool-season vegetables side by side.
Think of it like a tidy parking lot: each row holds one crop type, with clear walking lanes between them. Keep rows about 18 inches wide so you can reach the center from either side without compressing the soil. The paths between rows need to be at least 18 inches wide too, and covering them with cardboard topped with wood chips prevents weeds and keeps soil compaction from foot traffic from becoming a problem.
For this layout, position your taller crops at the back of the garden on the north side: corn, tomatoes, or a trellis running cucumbers vertically. Place medium crops in the middle section. Put your low-growing harvests at the front where sun hits strongest and access is easiest.
The Container Garden for Patios and Balconies
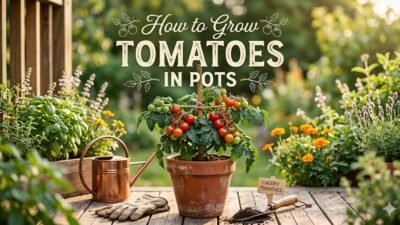
No yard? No problem. Patio and balcony container vegetable gardening is genuinely productive when you match the container size to the crop.
Use five-gallon fabric grow bags or large ceramic pots for tomatoes and peppers since they need deep soil for root growth. Medium pots handle herbs, lettuce, and compact greens comfortably. A rail planter along a balcony railing gives you a dedicated strip for green onions, arugula, or radishes. Hanging baskets work well for strawberries. A simple trellis or netting leaned against a wall turns a small balcony into a vertical garden that grows peas or small cucumbers upward without using floor space.
The container layout follows the same logic as the raised bed: tall plants where they will not shade shorter ones, and everything positioned to receive the most sunlight your space offers.
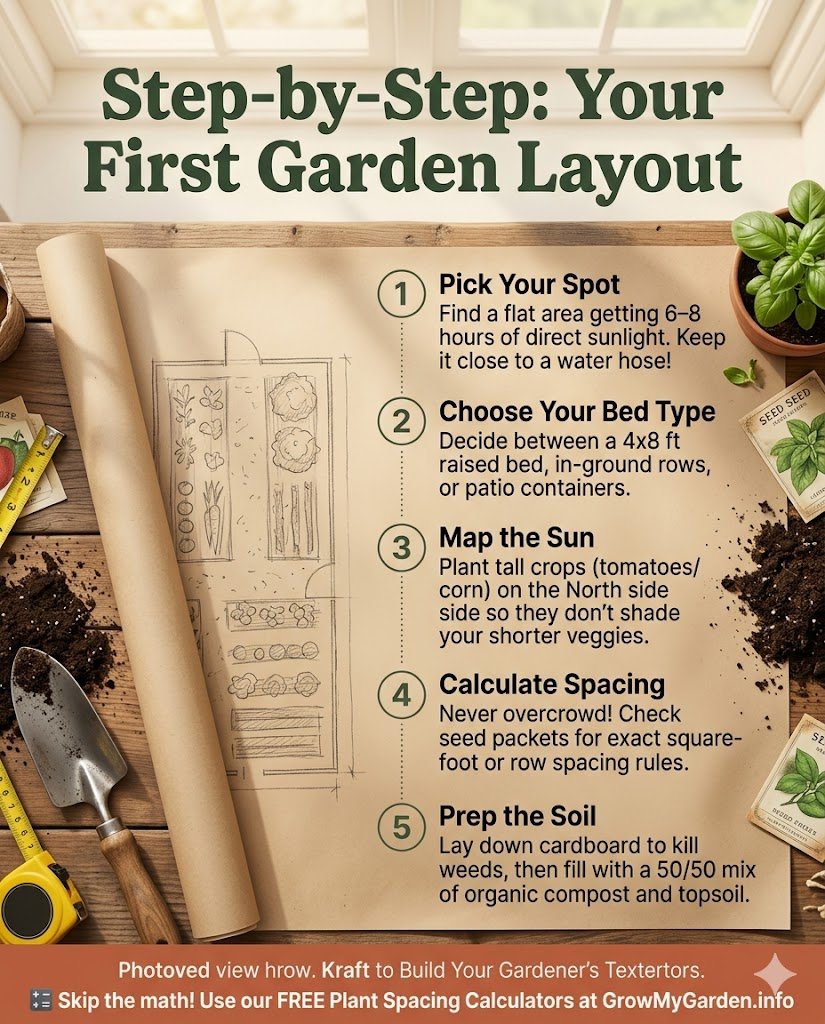
Step-by-Step: How to Build Your Beginner Vegetable Garden Layout
Follow this sequence when planning your first garden. It applies whether you are working with a raised bed, a row garden, or containers.
Step 1: Measure your space. Know the exact dimensions you are working with. A 4×4 garden grid and a 4×8 raised bed layout have very different crop capacities, and mixing them up in your head causes planning errors.
Step 2: Map your sunlight. Use the morning, noon, and afternoon observation method described earlier. Mark on paper which end of your space gets the most consistent sun. That end is where your tallest crops go.
Step 3: List the vegetables you actually want to eat. This sounds obvious but many beginners grow things they have no real interest in eating simply because they heard those crops are easy. Grow what your household wants. For most American families, that list includes tomatoes, peppers, cucumbers, zucchini, carrots, beans, and a selection of herbs like basil and parsley.
Step 4: Sort your crop list by height. Separate tall crops from medium and short ones. This determines their physical position in your layout before you place anything.
Step 5: Assign positions using the north-to-south rule. Tall crops at the back, north side. Medium crops in the center. Short and fast-growing crops at the front, south side. This single rule prevents most sunlight-blocking problems that beginners run into.
Step 6: Check spacing requirements on your seed packets. Every vegetable has a recommended spacing distance. Respecting these numbers prevents overcrowding, which is the single most common mistake beginners make.
Instead of hunting through individual seed packets, our Plant Spacing Calculator shows how many plants fit in your exact bed size for every crop — no math required.
Step 7: Add your walking paths. Before planting anything, physically mark or measure where you will walk. Paths need to be at least 18 inches wide. Cover them before planting season begins.
Step 8: Plan for vertical gardening. If your space is small, think upward. A trellis for cucumbers, pole beans, or small melons uses vertical space instead of horizontal ground space. Position it at the back so it does not shade the rest of the garden.
Step 9: Schedule your plantings. Cool-season vegetables like lettuce, spinach, radishes, and carrots go in early spring. Warm-season crops like tomatoes, peppers, and zucchini wait until after your last frost date. The Old Farmer’s Almanac website has a free tool that shows frost dates by zip code, which is genuinely useful for timing decisions.
Our Planting Date Calculator gives you your full sowing, transplanting, and harvest timeline by climate zone — not just a frost date, but a complete seasonal schedule for every crop on your list
Step 10: Plan a succession. Stagger your plantings by two to three weeks so harvests spread across the season instead of hitting all at once. This is called succession planting and it keeps your garden productive from spring through early fall without any single week overwhelming you with more zucchini than any household could reasonably eat.
Companion Planting: The Layout Upgrade That Costs Nothing Extra
Once your basic structure is set, adding companion planting combinations into your layout is one of the smartest low-effort improvements you can make.
Companion planting is the practice of grouping plants that benefit each other and keeping apart those that compete or cause problems. Tomatoes grow better near basil and onions. Carrots do well near onions or lettuce. Bush beans grow well near corn but should stay away from onions. Marigolds planted along the border of your garden attract pollinators and naturally deter a long list of common pests.
You do not need to redesign your layout for this. Just look at the edges and corners of your existing plan and tuck companion plants into spaces that would otherwise sit empty.
Cool-Season vs Warm-Season Vegetables: Getting Your Timing Right
Understanding the difference between cool-season and warm-season vegetables is fundamental to getting multiple harvests from one layout.
Cool-season crops like lettuce, spinach, arugula, radishes, beets, carrots, and garlic grow best in spring and fall when temperatures are mild. They bolt, meaning they flower and turn bitter, once summer heat arrives. Plant them early, harvest them before midsummer, and then replant the same space with warm-season crops.
Warm-season crops like tomatoes, peppers, cucumbers, zucchini, pole beans, and eggplant need warm soil and warm nights to thrive. They go in after your last frost date and carry the garden through summer into early fall.
Planning your layout with both groups in mind means your beds are never sitting empty. The same square footage that produced lettuce in April produces tomatoes in July. Extending the growing season this way is one of the most practical habits you can build as a beginner. As your beds stay productive through more of the year, the Watering Schedule Tool helps you adjust how much water each crop needs week by week as seasons and temperatures shift.
Crop Rotation: Why It Matters Even for Small Gardens
Crop rotation is the practice of moving plant families to different beds or sections of your garden each year instead of growing the same crops in the same soil season after season.
The reason it matters is simple. Different plant families take different nutrients from the soil and attract different pests. Growing tomatoes in the exact same spot year after year depletes specific minerals and allows pest populations that target tomatoes to build up in the soil over winter.
Even with just two raised beds, you can rotate effectively. Grow your fruiting crops like tomatoes, peppers, and cucumbers in bed one this year. Move them to bed two next year and fill bed one with root vegetables like carrots, beets, and onions. The year after that, bed one gets greens and herbs. This three-group rotation significantly reduces pest pressure and supports soil balance without any complicated chemistry.
Tools That Make the Planning and Growing Process Easier
You do not need to spend a lot of money to set up and maintain a beginner vegetable garden. A quality hand trowel, a long-handled hoe, a pair of comfortable gloves, and a soaker hose or basic watering can will carry you through an entire season.
For planning, the Planter app is popular among beginner gardeners across the United States. You enter your garden dimensions, plug in your zip code for local frost dates, and drag crops into your virtual space. It automatically flags spacing problems and shows you which plants make good neighbors. The Old Farmer’s Almanac Garden Planner is another free option with a simple drag-and-drop interface that works well for beginners.
A row cover, which is a lightweight fabric you drape over young plants, protects seedlings from late frosts and early pest pressure without chemicals. It is one of the most underused tools in the beginner garden and one of the most useful.
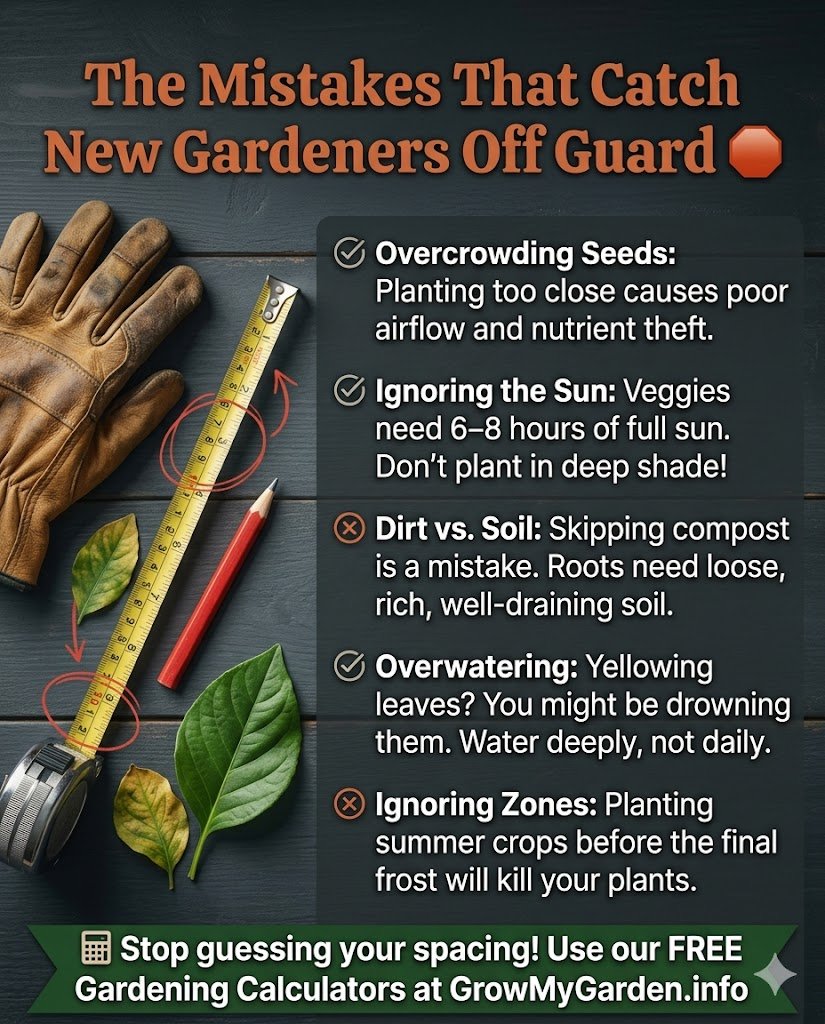
The Mistakes That Catch New Gardeners Off Guard
Nobody loves talking about failure, but honestly, it is half the education.
Overcrowding is the most common and most expensive mistake. Seed packets list spacing recommendations for a reason. Plants that are too close together compete for water, nutrients, and air. They stress out, attract more pests, and produce less. Give every plant its stated space.
Beds that are too wide cause constant problems. When you cannot comfortably reach the center of a bed from either side, you end up stepping into the soil, which causes compaction and damages roots. Keep beds four feet wide at most.
Placing tall crops in the wrong position is another pitfall. Tall plants placed on the south side of your garden will block sunlight from every shorter crop behind them for most of the day. Always put tall crops on the north side so the shadows fall away from the rest of your garden.
Planting too many different crops at once increases complexity fast. When you are learning, fewer varieties managed well beats a chaotic collection managed poorly. Start with five or six crops you genuinely want, learn how they behave, and expand in year two.
What Your First Season Will Actually Teach You
Your first garden will not be perfect. Accept that now and it becomes much less stressful. One crop will do brilliantly. Another will flop for reasons that take you a season to fully understand. That is normal. It happens to gardeners with decades of experience too.
What you are actually building in your first year is specific knowledge about your yard. You learn how your soil holds moisture, which direction the afternoon sun hits hardest, where slugs gather on cool mornings, and which crops your family actually cooks with versus which ones just pile up on the counter.
Keep a simple notebook. Write down planting dates, what worked, what did not, and what you would change. That record becomes more valuable than any gardening guide by the time your second season begins.
Good soil improves every year you add compost and organic matter. Good knowledge does the same. The backyard vegetable gardens that produce abundantly are almost always the ones that have been tended carefully for several seasons, not the ones that were set up perfectly on the first try.
Start with a manageable size. Plan your layout before buying seeds. Give every plant its room. Let the rest come naturally.
Frequently Asked Question
What is the best layout for a vegetable garden?
The ideal layout for most home gardeners is the raised bed or square-foot gardening method, as they maximize yields in small spaces and provide excellent soil drainage. For the best sun exposure, always align your garden rows from North to South so plants aren’t shaded by one another.
Is October too late to plant?
Not necessarily! Depending on your hardiness zone, October is perfect for planting cool-weather crops like garlic, spinach, and radishes. Just be sure to check your local first frost date and use mulch or row covers to protect young roots from the cold.
Which vegetables grow well together?
A great companion planting strategy pairs mutually beneficial crops, like tomatoes with basil and marigolds to naturally deter pests. Carrots and onions also thrive together, as the strong scent of onions repels the carrot rust fly while safely sharing the same soil space.
What is the most common mistake of first-time gardeners?
The absolute most common mistake is overcrowding seeds and ignoring plant spacing guidelines. Beginners underestimate how large mature plants get, which leads to poor airflow, stunted growth, and disease. Instead of hunting through individual seed packets, our Plant Spacing Calculator shows how many plants fit in your exact bed size for every crop — no math required.
Which vegetables should not be planted together?
Avoid planting crops that attract the same pests or stunt each other’s growth, such as planting tomatoes near potatoes (they easily share blights). You should also keep onions and garlic away from beans and peas, as the allium family will stunt the growth of legumes.
If you want to see whether your first garden will save you money at the grocery store, the Garden Cost Estimator compares your setup costs against estimated harvest savings so you can go in with realistic expectations.
Have a layout question or a story from your own first season? Share it in the comments. Real questions from real gardeners always make for the best conversations.

Leave a Comment