
How to Harvest Parsley So It Keeps Growing (The Way I Wish Someone Had Told Me Years Ago)
The first time I grew parsley on my back porch in Ohio, I treated it like an all you can eat buffet, plucking leaves from the top whenever a recipe called for them. Within weeks, my plant looked exhausted and refused to push out new growth. Turns out, knowing how to harvest this herb properly is the difference between one sad season and months of fresh greens. The secret lies in cutting the outer stems at the base, leaving the central growing point untouched, and never taking more than a third at a time. Done right, you get continuous harvest from spring until the first hard frost.
Turns out, I was doing it all wrong. And after years of growing both flat-leaf parsley (the Italian kind that chefs love) and the frilly curly-leaf variety, I’ve figured out exactly how to cut this herb so it keeps pushing out fresh stems week after week. The trick isn’t really about how much you take. It’s about where you cut. Read our complete Herb Gardening guide for more info.
Let me walk you through everything I’ve learned, including the mistakes that cost me three perfectly good plants.
Why Parsley Behaves the Way It Does
Before we get to the snipping part, you need to understand one thing about parsley. It’s a biennial herb, which means it lives for two years. In year one, it grows like a champ, all leaves and stems. In year two, it shifts gears and starts thinking about making babies, which means it sends up a flowering stalk and goes to seed. Once that happens, the leaves turn bitter and the show is pretty much over.
So your goal during that first season is simple. Keep the plant focused on producing leaves, not flowers. And the way you harvest plays a huge role in whether the plant stays bushy and productive or gives up on you halfway through summer.
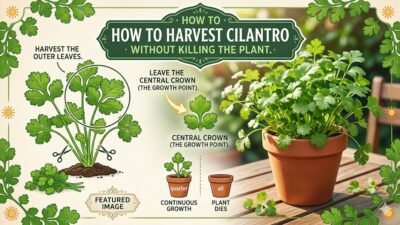
If you’ve ever grown cilantro, you already know how fast some herbs can switch from leafy to flowery. Parsley is more patient than that, but the same principle applies. Here’s how to harvest cilantro without killing the plant if you want to compare techniques side by side.
Here’s the part most beginners miss. Parsley grows from the center outward. The newest, youngest shoots are always in the middle of the plant, while the older, mature stems sit on the outside. That little detail changes everything about how you should be cutting.
Wait Until the Plant Is Ready
I know it’s tempting to start snipping the moment your parsley looks halfway respectable, but patience pays off here. A plant that’s only a few inches tall doesn’t have the root system or leaf mass to bounce back from a haircut.
My rule of thumb is to wait until the plant is at least 6 inches tall and has produced several full stalks with mature leaflets. If you started from seed, this usually takes around 70 to 90 days. If you grabbed a transplant from a local nursery like Lowe’s or Home Depot, you can often start harvesting within two or three weeks of bringing it home, as long as it looks healthy and established.
Curious how much parsley a single plant or row can actually produce in a season? Run your numbers through our Harvest Yield Estimator to get a realistic estimate before you plan your kitchen menu.
A young plant that’s still finding its footing needs all its leaves to photosynthesize and build up energy. Cut too early, and you’ll stunt it. Sometimes permanently.
The Tools You Actually Need
You don’t need anything fancy. I’ve used three things over the years and they all work fine.
A small pair of kitchen shears (the kind you probably already have in your knife block) does the job beautifully. So do garden snips or a clean pair of pruning shears for bigger jobs. If your blades are dull or covered in last week’s tomato gunk, give them a quick wipe with rubbing alcohol or warm soapy water first. Dirty blades can introduce bacteria into the cut stems, and that’s how you end up with a yellowing, droopy mess.
What you should not use is your fingernails. I see people pinching off parsley leaves all the time, and it crushes the stem, leaving a ragged wound that takes forever to heal. Sharp, clean cuts are the way.
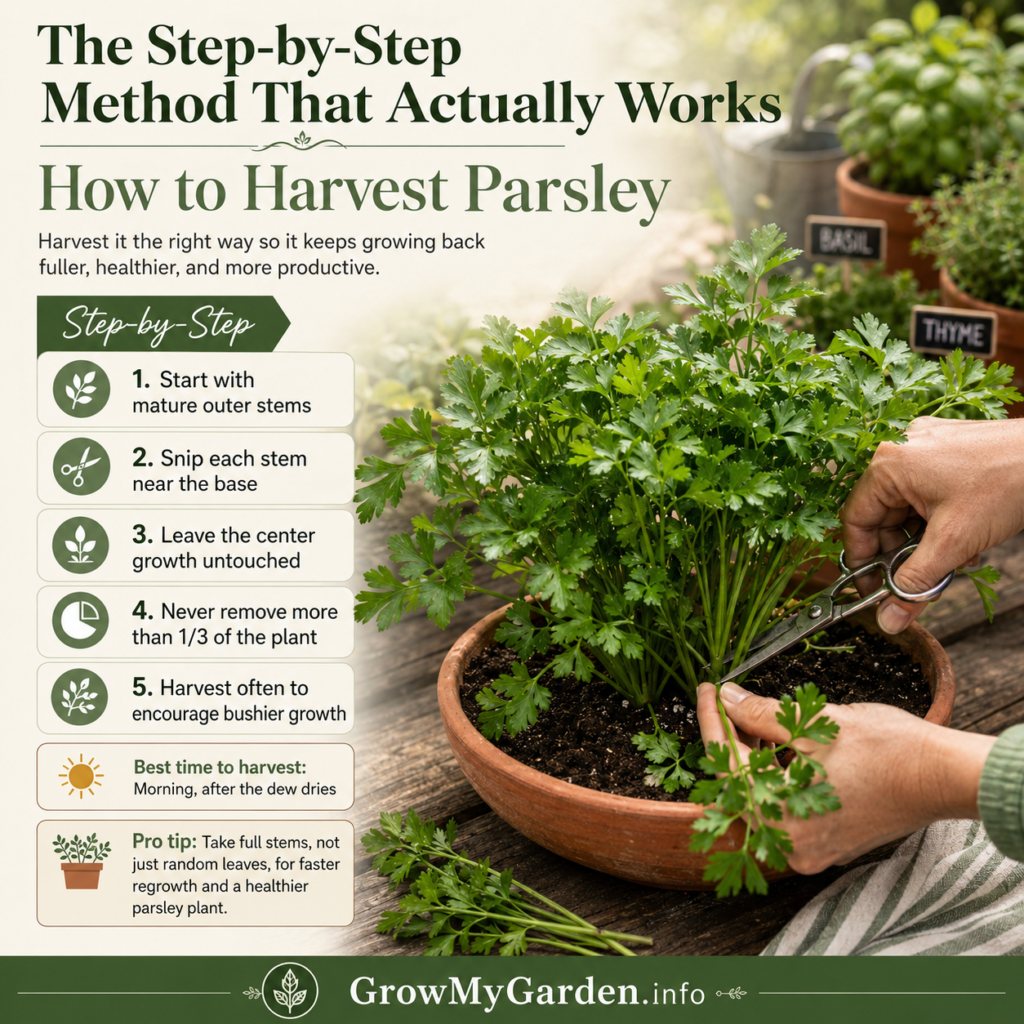
The Step by Step Method That Actually Works
Here’s the routine I follow every single time, whether I’m grabbing a handful for chimichurri or doing a bigger harvest for freezing.
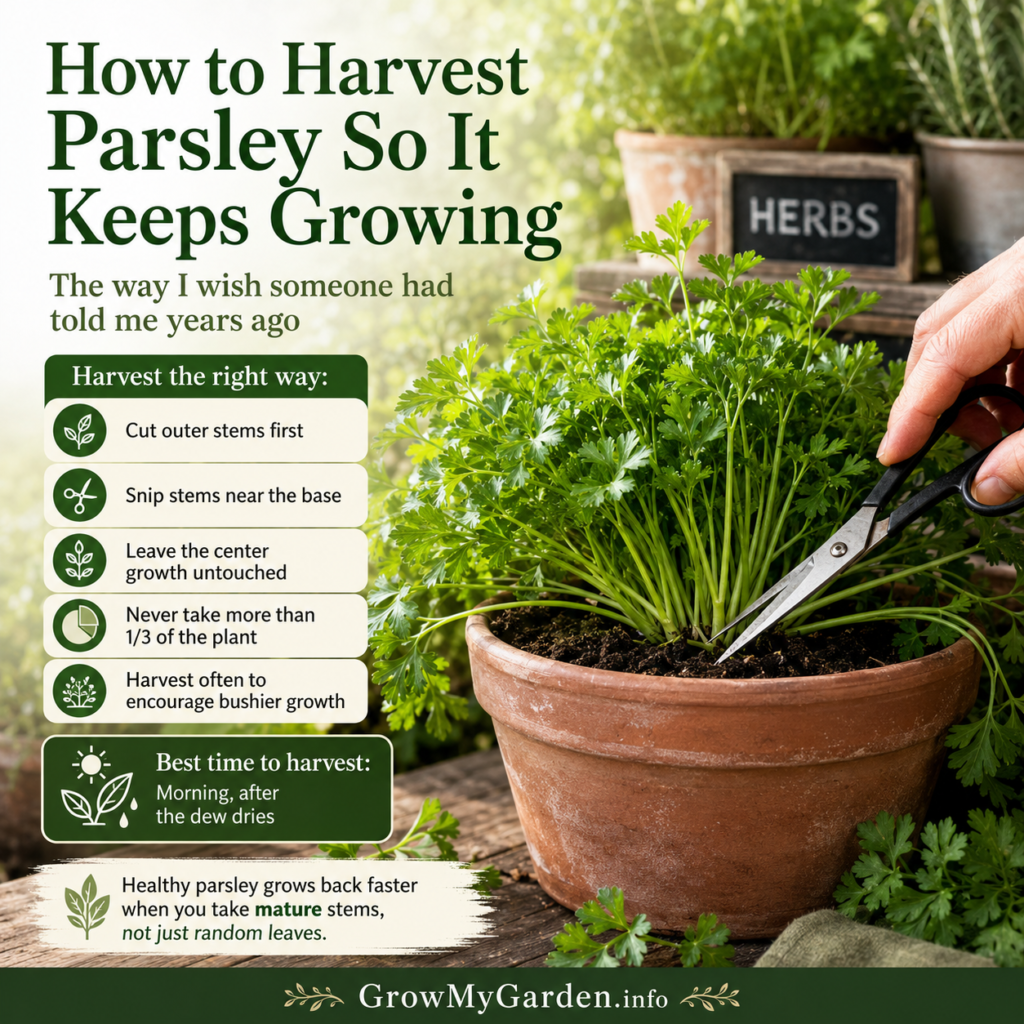
Step 1: Look at the plant from above. Notice how the stems on the outside are taller, darker green, and more mature, while the ones poking up from the middle are smaller and lighter. You want to ignore that inner cluster completely. That’s the engine room. Leave it alone.
Step 2: Identify the outer stems. Pick three or four full stalks on the outside edge. These should be the ones that look like they’ve been hanging around the longest, with fully developed leaves.
Step 3: Cut at the base of the stem. This is the part nobody tells you. Don’t trim from the top. Don’t snip off individual leaves. Take your shears and cut the entire stalk down close to the crown, leaving about half an inch of stem above the soil line. You want the whole stem gone, leaves and all.
Step 4: Work your way around the plant. Move around the outside in a circle, taking a few stems from each side. This keeps the plant balanced and prevents you from gutting one section.
Step 5: Stop at one third. Never take more than about a third of the plant in a single session. I learned this lesson the hard way during a Thanksgiving cooking marathon, when I needed a massive bunch and basically scalped my plant. It never fully recovered.
Step 6: Water it afterward. A gentle drink helps reduce the stress of harvesting and signals the plant to keep growing. I usually do this around sunset so the water has time to soak in before the next day’s heat.
The whole process takes maybe two minutes. And done right, you can come back and do it again in seven to ten days.
Why Cutting the Outer Stems Matters So Much
When you remove the older outer stalks, you’re doing two things at once. You’re getting your bunch of fresh parsley, and you’re telling the plant to send energy toward the younger inner shoots. Those inner stems then push outward, mature into the next round of harvestable stalks, and the cycle continues.
If you cut from the top or pluck individual leaves, you leave behind half stems with no growing tip. Those half stems can’t really do anything useful. They just sit there yellowing, taking up space, and slowly weakening the plant.
Cutting at the base of the outer stems is the single most important technique you can learn. If you remember nothing else from this article, remember that.
When to Harvest for the Best Flavor
I almost always pick parsley in the morning, ideally before 10 a.m. The leaves are crisp, full of moisture, and packed with the essential oils that give parsley its bright, peppery punch. By afternoon, especially on hot summer days here in the Midwest, the leaves can wilt slightly and the flavor flattens out a bit.
If you’re harvesting for cooking that night, morning is perfect. If you’re harvesting to dry or freeze, morning is still your best bet, but make sure the dew has evaporated. Wet leaves don’t store well.
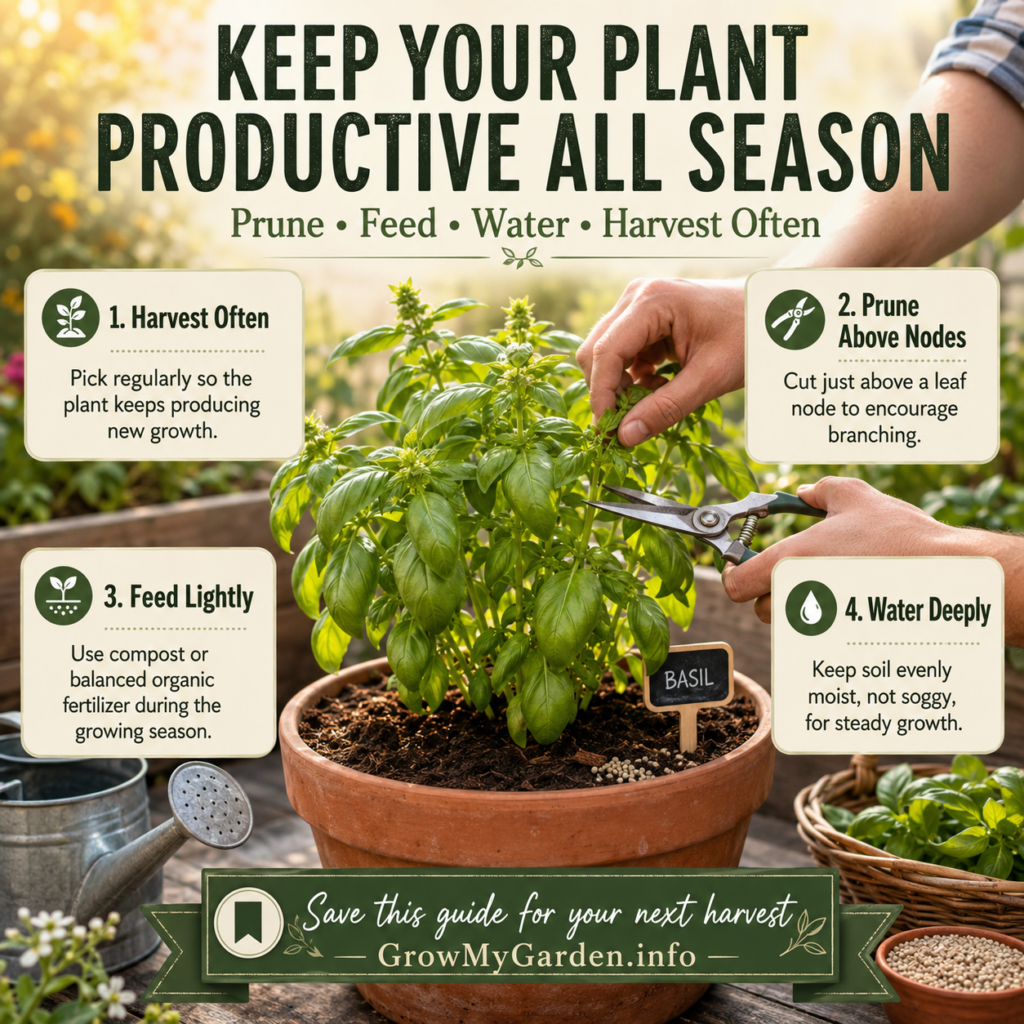
Keeping Your Plant Productive All Season
Harvesting correctly is half the battle. The other half is treating your parsley plant like the workhorse it is.
Water consistently. Parsley likes moist soil but not soggy roots. I check the top inch of soil with my finger every couple of days. If it’s dry, I water. If it’s still damp, I wait.
If you want to take the guesswork out of it, our Watering Schedule Tool figures out exactly how much water your parsley and other herbs need each week based on your climate.
Give it the right light. Full sun in cooler regions, partial shade in hot southern states like Texas or Arizona where the afternoon sun can scorch the leaves. Six hours of decent light is the sweet spot.
Feed it occasionally. A diluted liquid fertilizer every three to four weeks keeps the plant pumping out fresh growth. I use a basic fish emulsion or a balanced liquid feed from any garden center.
Not sure how much to apply for your bed size? The Fertilizer Calculator gives you the exact amount based on your garden’s square footage, so you don’t overdo it.
Mulch the base. A thin layer of straw or shredded leaves around the crown helps the soil hold moisture and keeps weeds down. Don’t pile it against the stems though, or you’ll invite rot.
Watch for bolting. When parsley senses heat stress or finishes its first year, it sends up a tall central stalk with tiny flower buds. The moment you see this, snip that stalk off at the base. It buys you a little more time, though once bolting starts, the clock is ticking.
What to Do If Your Parsley Stops Growing Back
This happened to me one June and I almost gave up. The plant had stopped pushing new shoots, the leaves were getting smaller, and the whole thing looked tired. Here’s what I found usually causes it.
You harvested too aggressively. Pull back for two or three weeks and let it recover. Just water and wait.
The plant is bolting. Check the center for that telltale flower stalk. If it’s there, you can either let it seed for next year or pull the plant and start fresh.
If you want to replant or stagger your next batch to avoid bolting in the heat, check our Planting Date Calculator to line up sowing and harvest dates with your zone.
It’s stressed by heat. If you live somewhere like Florida or southern California, parsley sometimes struggles in peak summer. Move container plants to a shadier spot and increase watering.
The soil is depleted. If you’ve been harvesting heavily for months, the nutrients are probably gone. A round of compost or fertilizer often brings it roaring back.
Storing What You Just Cut
Fresh parsley doesn’t last forever, but you can stretch it out with a few tricks.
For short term storage (about a week), wrap the stems in a slightly damp paper towel, slide the whole bunch into a zip top bag, and stash it in the fridge. I keep mine in the crisper drawer.
For longer storage, chop the leaves, pack them into ice cube trays, top with olive oil or water, and freeze. Pop one out whenever you’re making sauce, soup, or a marinade. They keep for at least six months in my experience.
You can also dry parsley, but honestly, dried parsley loses most of its flavor. I rarely bother unless I have a huge surplus.
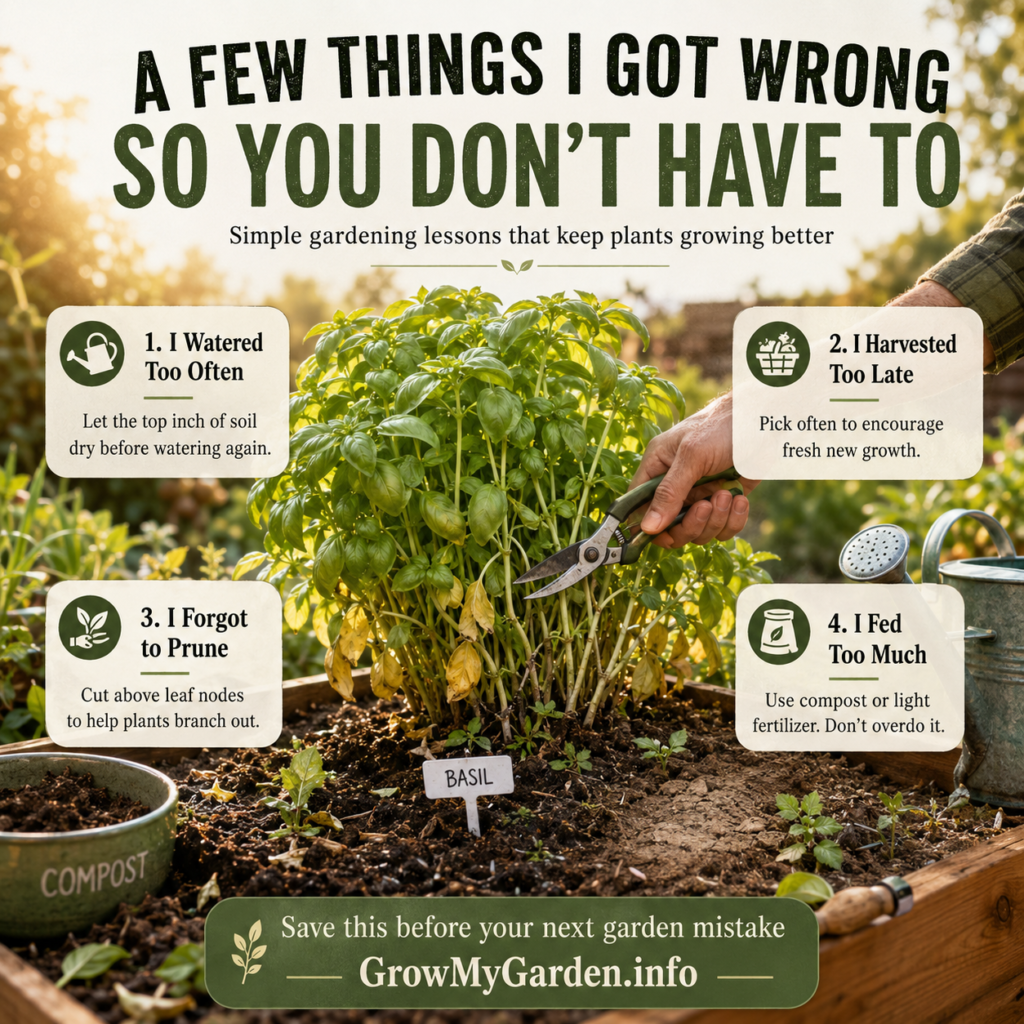
A Few Things I Got Wrong So You Don’t Have To
I once cut my parsley right before a heat wave. The plant couldn’t handle the double stress and basically threw in the towel. Now I check the weather forecast before doing a big harvest.
I also used to harvest at random spots all over the plant, leaving it looking like patchy carpet. Going around the outer edge in a circle gives much better results.
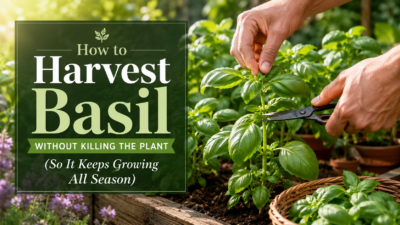
And for the love of basil, don’t shear the whole plant down to a stub thinking you’ll get a bigger second harvest. That’s not how parsley works. Slow and steady gets you fresh leaves from May through October. Greedy gets you nothing.
Growing Parsley Indoors? A Quick Note
If you’re growing parsley on a kitchen windowsill, the same rules apply, but the plant tends to grow slower because indoor light is weaker than the sun. I have a south facing window in my kitchen, and even then, indoor parsley produces maybe half what my outdoor plants do. Be a little more conservative with how much you harvest at a time, and give it a turn every few days so it grows evenly instead of leaning toward the glass.
A small grow light helps a lot if you don’t have great natural light. Nothing fancy needed, even a basic LED panel from Amazon will do the trick.
Frequently Asked Questions
Is it better to dry or freeze parsley? Freezing is better. Parsley loses most of its flavor and bright color when dried, while freezing locks in the fresh taste. Chop it, pack into ice cube trays with olive oil or water, and freeze for up to six months.
Does parsley help with blood clotting? Yes, parsley is high in vitamin K, which plays a key role in blood clotting. If you take blood thinners like warfarin, talk to your doctor before eating large amounts, since it can interfere with the medication.
Will parsley grow back after cutting? Yes, as long as you cut the outer stems at the base and leave the center of the plant alone. Avoid taking more than a third at a time. Done right, it keeps producing for months.
Is parsley leaf good for UTI? Parsley has mild diuretic properties that may help flush the urinary tract, and some people drink parsley tea for minor discomfort. It is not a cure though. See a doctor for a real urinary tract infection, since untreated UTIs can become serious.
What herb kills bladder infections? No herb truly kills a bladder infection. Bacterial infections need antibiotics. Some herbs like uva ursi, cranberry, and goldenrod are traditionally used for urinary support, but they are not a replacement for medical treatment. Always see a healthcare provider.
Final Thought
Parsley really is one of the most forgiving herbs you can grow, but it does have opinions about how you treat it. Cut at the base of the outer stems, leave the center alone, take a third or less at a time, and keep the soil happy. Do that, and you’ll have fresh, fragrant parsley sitting on your counter from late spring all the way until the first frost nips the leaves. After a few weeks of doing it right, you’ll find yourself walking past the herb section at the grocery store wondering why you ever bought those sad plastic clamshells in the first place.

Leave a Comment