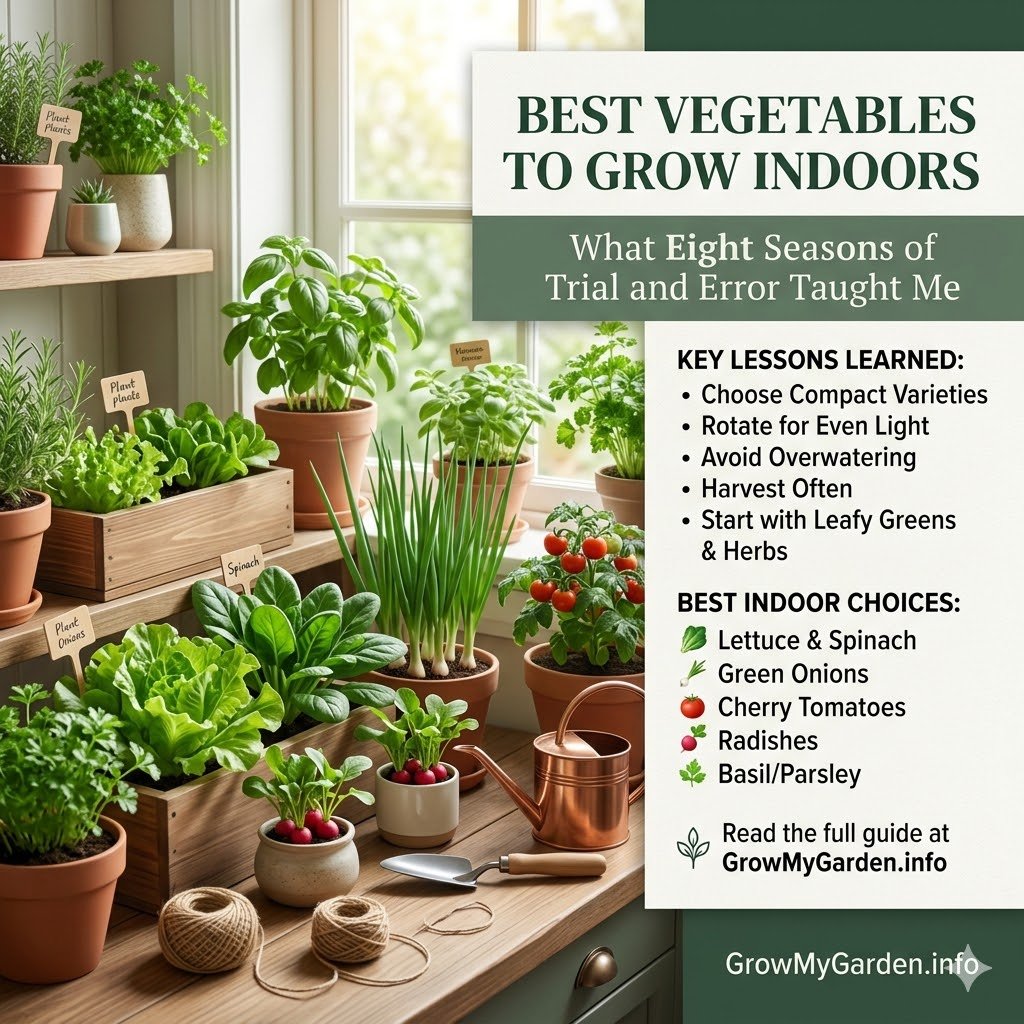
Best Vegetables to Grow Indoors: What Eight Seasons of Trial and Error Taught Me
Most people who try growing vegetables indoors for the first time make the same mistake I did: they pick the wrong crops for the light they actually have. I set up what I thought was a productive container vegetable garden in my Chicago apartment one November, pointed everything at a west-facing window, and watched my seedlings slowly stretch sideways, desperate for light they were never going to find.
Indoor vegetable gardening operates by its own set of rules. Get your grow light setup, potting mix, and crop selection right from the very start and you will be reliably harvesting fresh food at home through every single season of the year.
If you’re starting from scratch or you’ve had a disappointing indoor growing season already, this guide is the one I wish I had found first. It covers what actually works in American homes and apartments, explains why certain vegetables belong indoors and others emphatically do not, and walks you through the setup decisions that determine whether your plants produce food or just occupy counter space. Read our complete Indoor Gardening guide.
The One Factor That Decides Everything Before You Plant a Single Seed
Here is the conversation most indoor gardening guides delay until the third section or bury in a footnote: light is not optional. It is the foundation. Every vegetable decision you make afterward depends on how much of it you have.
A south-facing window in the continental USA gets between four and six hours of direct sunlight during winter months. That is enough for leafy greens, microgreens, and herbs to grow reasonably well. It is not enough for fruiting crops like tomatoes or peppers to produce anything worth harvesting. North of the 40th parallel — a line that cuts roughly through Denver, Indianapolis, and Philadelphia — the situation tightens further from November through February.
The good news is that supplemental lighting has become genuinely affordable. A basic T5 fluorescent fixture from Home Depot handles lettuce and spinach without complaint. If you want to grow a wider range of vegetables, including fruiting ones, a mid-range LED grow light from a brand like Spider Farmer, Viparspectra, or Mars Hydro does the job. Look for full spectrum output in the 4000K to 6500K range. Mount it on a simple timer — I use a Kasa smart plug with a schedule set through the app on my phone — and your plants will get consistent light whether you remember to flip a switch or not.
The free Photone app for iOS and Android is worth downloading early on. It turns your phone camera into a light meter and measures the intensity at plant level in PPFD (photosynthetic photon flux density), which gives you a real number rather than a guess. Leafy greens want roughly 100 to 200 PPFD. Cherry tomatoes and peppers want 400 and above. For a full breakdown of light requirements at every growth stage, read How Much Light Do Seedlings Need?
The Vegetables That Actually Thrive Indoors
Not everything belongs in a pot in your living room. Corn is a non-starter. Full-size squash and most melons will overwhelm any indoor space before they produce fruit. But the following vegetables are genuinely well-suited to container vegetable gardening indoors, and in my experience, they reward you consistently when you give them what they need.
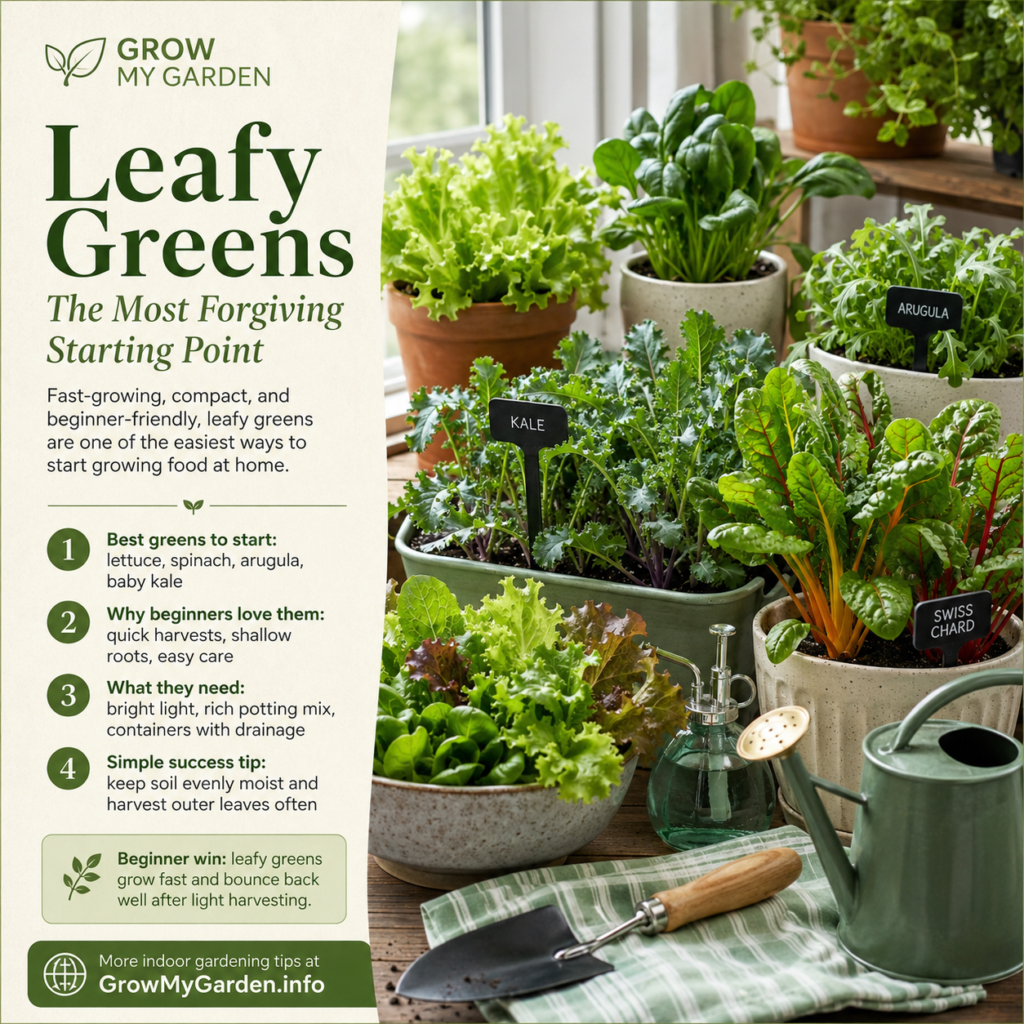
Leafy Greens: The Most Forgiving Starting Point
If indoor vegetable gardening were a job interview, leafy greens would be the most qualified candidates in the room. They tolerate lower light than fruiting vegetables. They grow quickly. They don’t need hand pollination or trellising. And they produce continuously if you harvest the outer leaves instead of pulling the whole plant.
Lettuce is where I tell every beginner to start. Loose-leaf varieties like Black Seeded Simpson, Salanova, and Oakleaf are particularly well-suited to indoor conditions because they don’t bolt as quickly as heading types and they bounce back after each harvest. Sow seeds shallowly in a tray of moist indoor potting mix, keep the surface consistently damp until germination (usually five to seven days), then thin to about four to six inches apart once the seedlings have their first true leaves. Use the Plant Spacing Calculator to figure out exactly how many plants fit in your container before you sow. Under a south-facing window or a basic grow light, you can be harvesting baby leaves within three weeks of planting.
Spinach grows slightly faster than lettuce in my experience, reaching usable size in 25 to 30 days from seed. The practical thing about spinach indoors is that it prefers cooler temperatures. If your home stays below 70 degrees Fahrenheit during the day, spinach is happy. Once things warm up, it bolts and turns bitter, so it’s at its best as a fall through early spring crop even when grown inside.
Kale takes longer — about 50 to 60 days to a full harvest — but it has two qualities that make it excellent for indoor growing. First, it is genuinely cold-tolerant and not at all bothered by cool room temperatures. Second, Lacinato (also called Tuscan or dinosaur kale) stays relatively compact, which makes it manageable in a 10-inch container. I’ve grown it on a plant shelf under a pair of T5 bulbs and it produced reliably for about four months before the older leaves turned leathery.
Arugula is almost aggressively easy. The seeds germinate in three to five days. The plants grow fast enough that you feel like you’re making real progress. The flavor it develops under indoor conditions is peppery and assertive in a way that bagged grocery store arugula simply isn’t. Sow it thickly in a shallow container and start snipping at about two to three inches tall.
Swiss chard earns its place in any indoor garden setup through sheer versatility. It grows well in moderate light, handles both warm and cool room temperatures better than most leafy greens, and the colorful stems (particularly on Rainbow chard) make it attractive enough to sit on a kitchen counter without anyone thinking twice.
For all of these, use a quality indoor potting mix rather than garden soil. Garden soil compacts in containers, drains poorly, and frequently introduces insects into your home. I’ve had good results with Fox Farm Ocean Forest mixed with perlite at roughly a 70 to 30 ratio. The perlite prevents the soil from settling into a dense block over time and keeps the drainage holes actually doing their job.
Microgreens: The Fastest Win in the Indoor Garden
Microgreens occupy a category of their own because the payoff arrives so fast it almost doesn’t feel real. From seed to harvest in 10 to 14 days, these are the impulse buys of indoor vegetable growing — and unlike most impulse buys, they consistently deliver.
The best varieties for beginners are sunflower, radish, pea shoots, broccoli, and amaranth. Each grows well on a south-facing windowsill without supplemental lighting, though a grow light makes them denser and more uniform.
Here is how to grow them from start to finish:
Step 1: Choose a shallow tray with drainage holes and fill it with coconut coir, a dedicated microgreen growing mat, or a thin layer of standard indoor potting mix. You don’t need much depth — about an inch is sufficient.
Step 2: For larger seeds like sunflower and peas, soak them in water for four to eight hours before planting. Smaller seeds like radish and broccoli go straight onto the medium without soaking.
Step 3: Spread the seeds densely across the surface. This is the one situation in vegetable growing where tight spacing is the goal rather than the mistake. Not sure how much seed to buy? The Seed Quantity Calculator estimates exactly what you need for your tray size.
Step 4: Cover the tray with a second tray or a humidity dome for the first two to three days. The darkness and trapped moisture accelerates germination remarkably. Check once a day to make sure the medium hasn’t dried out.
Step 5: Once most seeds have sprouted and are pushing against the cover, remove it and move the tray into your light source.
Step 6: Water from the bottom only. Pour about half an inch of water into the base tray and let the growing medium absorb what it needs over 20 to 30 minutes, then empty any remaining water. This keeps the seed surface drier and discourages the mold and fungus gnats that plague microgreen growers who water from the top.
Step 7: Harvest with clean kitchen scissors just above the growing medium surface when the first true leaves appear and the shoots are standing upright with good color. Rinse and use immediately or store in a sealed container in the refrigerator for up to five days.
Green Onions and Radishes: Speed and Simplicity Combined
Green onions (scallions) might be the most low-maintenance vegetable you can grow indoors year round. You can start them from seed, but an even more satisfying approach is to save the root ends from a bunch of store-bought scallions — the bottom inch or two with the roots attached — drop them in a small glass of water on the windowsill, and watch them sprout within a few days. Once the regrowth is a few inches tall, pot them up in a container with potting mix and they’ll continue producing for months. This is genuinely one of those things that feels like a magic trick the first time you do it.
Radishes earn their place in the indoor vegetable garden by being among the fastest-maturing root vegetables available. French Breakfast and Cherry Belle varieties go from seed to harvest in 22 to 28 days indoors. The only firm requirements are a container at least six inches deep (root vegetables are unforgiving about this), adequate light (a grow light meaningfully improves the size and texture of the roots), and consistent soil moisture. If radishes dry out during their development, the roots become hollow and pithy with a sharpness that makes them nearly inedible. Keep the soil evenly moist — not soggy, not dry — and they’ll produce reliably.
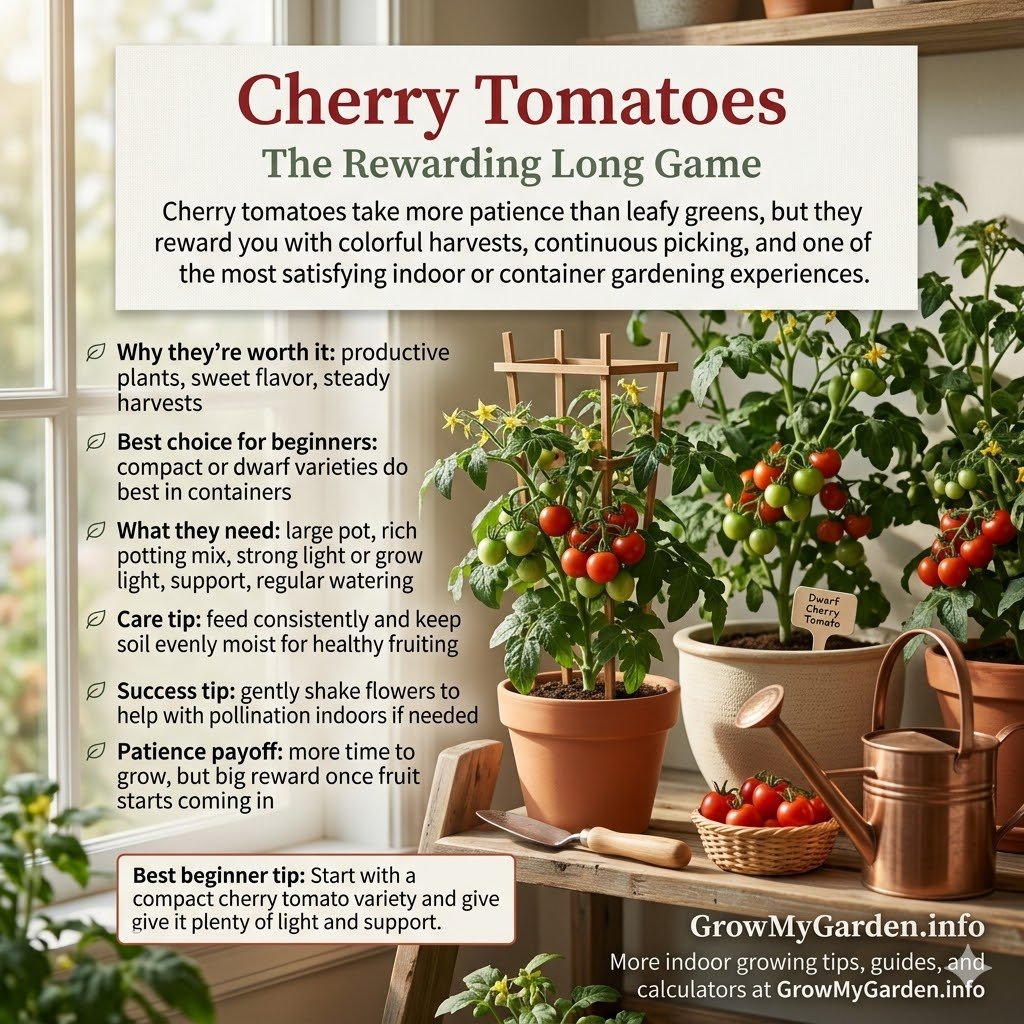
Cherry Tomatoes: The Rewarding Long Game
Cherry tomatoes are not the most beginner-friendly indoor crop. They take more time, more light, and more active attention than anything else on this list. But harvesting a handful of ripe tomatoes in the middle of a Chicago February creates a specific kind of satisfaction that nothing else in the indoor garden replicates.
The variety decision matters enormously here. Choose compact types bred specifically for container vegetable gardening: Tiny Tim, Micro Tom, Tumbling Tom Red, or Dwarf Sweet Million. These stay under two feet tall and produce proportionally to their size. Regular-sized tomato varieties will grow tall, demand more light than any window can provide, and produce disappointing fruit in exchange for all your effort.
Cherry tomatoes indoors need 14 to 16 hours of light per day from a quality LED grow light positioned six to twelve inches above the canopy. A 5-gallon fabric grow bag is the right container. The breathable walls encourage healthy root development and prevent the heat buildup that damages roots in solid plastic pots.
One step that most indoor tomato guides mention only in passing, but which genuinely doubles fruit production: hand pollination. Indoor tomatoes have no bees, wind, or insects to move pollen between flowers. Once a day while flowers are open, either shake each plant stem gently for a second or two, or hold a cheap electric toothbrush against the stem just below a flower cluster and let the vibration do what a bumblebee’s buzz normally would. It sounds faintly absurd, but it works remarkably well.
Feed your indoor tomatoes with a balanced liquid fertilizer (something like Fox Farm Grow Big or General Hydroponics Flora series) during the vegetative stage, then switch to one with a higher phosphorus and potassium ratio once fruit sets. Both products are available at Home Depot, Lowe’s, and most independent garden centers across the USA.
Dwarf Peppers: Patient Plants With a Real Payoff
Indoor dwarf pepper varieties — Lunchbox, Chenzo, Capsicum annuum Mini Bell types — share the same light requirements as cherry tomatoes and operate on a similar schedule. They’re slower to mature and quieter about it, but they also live longer. I’ve overwintered pepper plants indoors for two consecutive seasons, bringing them back from near-dormancy in late winter, and they’ve continued to produce reliably. For the time invested in establishing a healthy pepper plant, the multi-season return makes it a genuinely practical crop for the indoor vegetable garden.
Setting Up Your Indoor Garden: A Sensible Starting Point
You don’t need to build a grow tent on day one. Most people who do that end up overwhelmed before they’ve grown anything. Here is a realistic progression:
Step 1: Assess your light. Stand at your south-facing window at noon in mid-winter and observe how far the actual direct sunlight reaches. Most apartment windows illuminate a one-to-two-foot zone of usable light. Everything outside that zone needs supplemental light to produce meaningfully.
Step 2: Choose containers with drainage as the primary criterion. Every container needs a hole in the bottom and a saucer underneath. Self-watering planters from brands like Lechuza or the City Pickers Patio Garden Planter take watering guesswork out of the equation for beginners.
Step 3: Use quality indoor potting mix. Espoma, Fox Farm, and Miracle-Gro Indoor Potting Mix are all available nationally and perform well for indoor vegetable growing.
Step 4: Set your grow light on a timer before planting. Manual adjustment of light schedules rarely survives the third week of any growing season.
Step 5: Start with two crops, not six. Lettuce and green onions will build your instincts faster than a complicated multi-crop setup will.
What Nobody Warns You About: Watering and Nutrients
Overwatering is the most consistent cause of plant death in indoor gardens. Potting mix in containers dries out more slowly indoors than it does outside because there’s no wind, rain, or rapid temperature change to speed evaporation. The result is soil that stays wet longer, roots that sit in moisture longer, and root rot that sets in quietly before you see any sign of it above soil level.
The simplest check: push your finger about an inch into the soil. If it feels moist, wait another day. If it’s dry at that depth, water thoroughly until it runs freely from the drainage holes, then let it drain completely. Or skip the guesswork entirely — the Watering Schedule Calculator builds a custom watering plan based on your containers and crops.
Bottom watering works particularly well for leafy greens and herbs. Set the container in a shallow tray of water for 20 to 30 minutes. The soil draws up moisture from below, and the surface stays drier — which matters because fungus gnats, the most common indoor garden pest in the USA, lay their eggs in damp topsoil. Keeping the surface dry cuts down on infestations significantly.
For fertilizing, most indoor vegetable crops benefit from feeding every two weeks with a diluted liquid fertilizer during active growth. Start at half the recommended label dose. Indoor plants in limited soil volume can show nutrient burn from concentrated fertilizer faster than you’d expect. Use the Fertilizer Calculator to get precise amounts for your container sizes rather than estimating from bag labels.
Pests and Problems Worth Knowing About
Fungus gnats are the most frequent visitor to indoor vegetable gardens across the country. The adult gnats are essentially harmless but annoying. The larvae in the soil feed on roots and can stunt seedlings. Yellow sticky traps near the soil surface catch adults. A top dressing of diatomaceous earth over the soil discourages egg-laying. For established infestations, a beneficial nematode drench (available through brands like Arbico Organics and BioLogic) handles the larvae in the soil without any chemicals.
Aphids occasionally appear on indoor tomatoes and peppers. A diluted neem oil solution sprayed on the foliage in the evening, when the light is off, is effective and safe for food crops.
Leggy, stretched seedlings are a light problem rather than a pest problem. If your plants are reaching dramatically toward the window or growing tall with wide spacing between leaves, they need more intensity. Move them closer to your light source or add a supplemental grow light. The Photone app mentioned earlier helps you confirm whether the light level is actually in the right range.
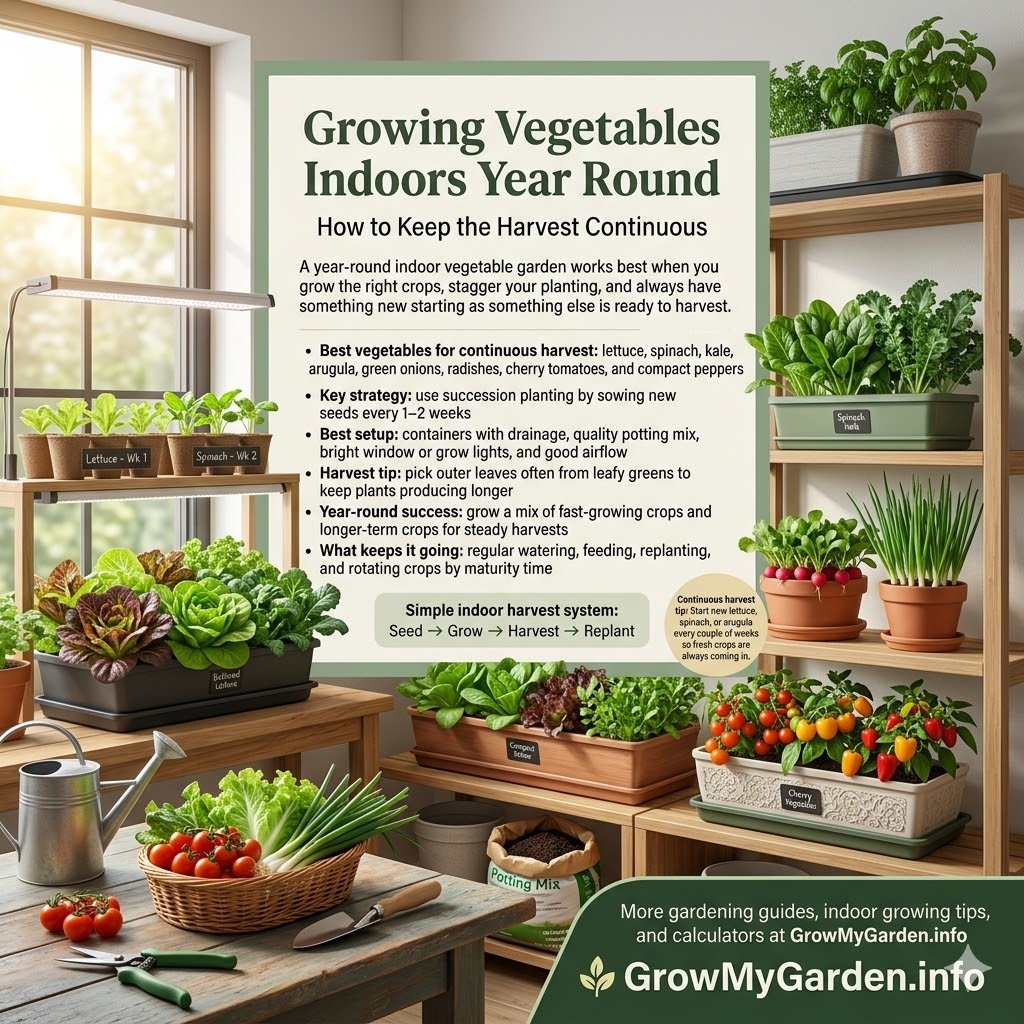
Growing Vegetables Indoors Year Round: How to Keep the Harvest Continuous
The practical advantage of indoor vegetable gardening over outdoor growing is that the calendar becomes irrelevant. While gardeners in the Midwest and Northeast are staring at frozen ground from December through March, an indoor garden producing leafy greens, microgreens, and radishes runs on its own schedule entirely.
The adjustment most people don’t make is succession planting. Rather than sowing everything at once and then facing a gap while the next crop starts from scratch, stagger your planting every two to three weeks. A fresh tray of lettuce seeded on the 1st and another on the 15th means you’re harvesting continuously rather than feasting and then waiting.
The GrowMyGarden.info planting dates calculator is worth bookmarking for mapping out your indoor planting timeline across multiple crops. It lets you work backward from your target harvest dates, which makes succession planting considerably more organized than eyeballing it on a wall calendar.
In summer, reduce your artificial lighting hours if your home receives significant natural light through south and west-facing windows. In winter, especially north of that Denver-to-Philadelphia line, lean on your grow light more heavily and extend the light period to compensate for what the sun isn’t providing.
A Note on Hydroponic Growing for Indoor Vegetables
If you want to take indoor vegetable growing further, a basic hydroponic system is worth considering. The Kratky method — a passive, no-pump approach where plants grow with their roots suspended in nutrient solution — is particularly well-suited to lettuce and leafy greens and requires almost no equipment beyond a lidded container, net pots, and hydroponic nutrients.
The AeroGarden lineup, available at most Target and Walmart stores, offers a plug-and-play entry point to hydroponic indoor growing and performs well for herbs, lettuce, and cherry tomatoes in its larger models — and if herbs are on your list, our Indoor Herb Garden Setup for Beginners covers everything you need to get started. It won’t replace a proper grow setup, but it’s a legitimate way to start understanding how hydroponic nutrient management works before investing in a larger system.
Frequently Asked Questions
1. What is the easiest vegetable to grow for a beginner?
Radishes, lettuce, spinach, and green beans are some of the easiest vegetables for beginners. They grow quickly, need simple care, and work well in small gardens or containers.
2. What vegetables not to start indoors?
Avoid starting root vegetables indoors, like carrots, radishes, beets, and turnips, because they do not like transplanting. These grow best when seeds are planted directly in the garden soil.
3. What vegetables can grow in 30 days?
Radishes, baby spinach, lettuce, arugula, microgreens, and baby kale can grow in about 30 days. They are great choices for quick harvests and beginner gardeners.
4. What are the quickest vegetables to grow indoors?
Microgreens, lettuce, spinach, arugula, and green onions are the quickest vegetables to grow indoors. They need bright light, regular watering, and a small container.
5. What vegetables can grow in 4 weeks?
Radishes, microgreens, baby lettuce, arugula, and spinach can grow in around 4 weeks. For best results, keep the soil moist and place them where they get good light.
Where This Leads
Indoor vegetable gardening is one of those skills that feels surprisingly technical in the beginning and almost intuitive by the second season. The plants communicate clearly once you know how to read them. Stretched growth means more light. Yellowing lower leaves often mean nitrogen. Damp soil with no top growth usually means root problems.
The path from a tentative tray of lettuce to a year-round indoor vegetable garden that actually feeds your household is shorter than most people expect. It just requires starting honestly — with the right crops for your actual light conditions, realistic expectations about what indoor growing can and cannot do, and a willingness to adjust as you learn what your specific space and schedule allow.
The vegetables are ready whenever you are.
Use the GrowMyGarden.info watering schedule calculator to build a custom watering plan for your indoor containers, and the plant spacing calculator to figure out how many plants fit comfortably in your available containers before you sow a single seed.

Leave a Comment