
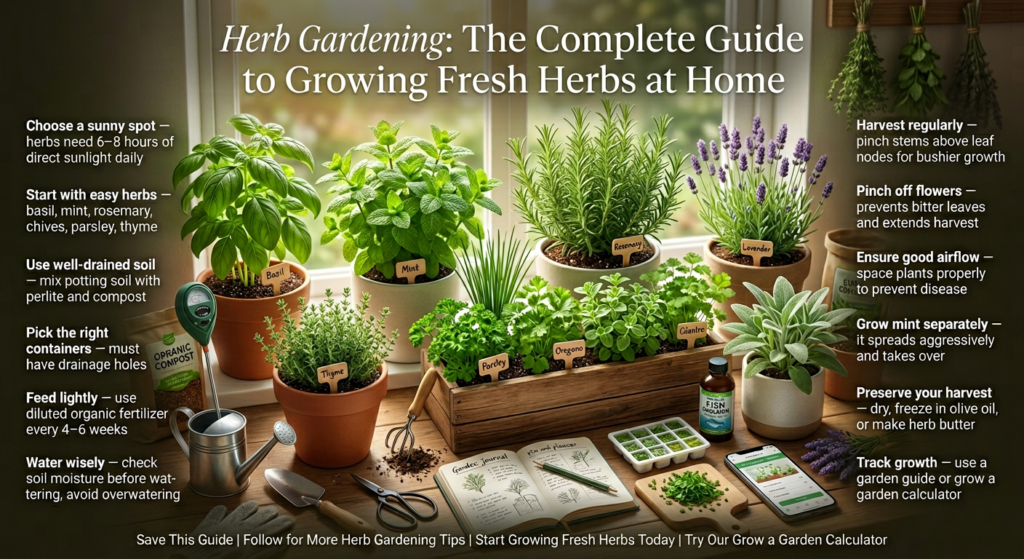
Herb Gardening: The Complete Guide to Growing Fresh Herbs at Home
There’s something deeply satisfying about walking out to your garden, snipping a handful of fresh basil, and tossing it straight into your pasta sauce. No plastic packaging. No wilted grocery store bundles. Just pure, aromatic flavor that you grew yourself.
I started my herb garden five years ago with three small pots on a sunny windowsill. Honestly? I killed the first batch within two weeks. Overwatered the basil, underwatered the rosemary, and placed the mint in a spot that got zero sunlight. Classic beginner disasters.
But here’s the thing — herb gardening is incredibly forgiving once you understand a few fundamentals. Today, I grow over 15 different herbs across my backyard raised beds, containers, and kitchen windowsill. And trust me, if I can figure this out after drowning my first basil plant, you absolutely can too.
This guide covers everything you need to know about herb gardening — from picking your first plants to harvesting like a pro. Whether you’ve got a sprawling backyard or a tiny apartment balcony, there’s an herb garden waiting for you.
Why Herb Gardening Matters More Than You Think
Let me be straight with you. Growing herbs isn’t just a cute hobby. It’s genuinely practical, surprisingly economical, and honestly therapeutic.
Save Money Every Single Week
Have you priced fresh herbs at the grocery store lately? A tiny clamshell of organic basil costs around $3 to $4. Meanwhile, a single basil plant that costs $2 from a nursery can produce fresh leaves for an entire growing season. I did some rough math last summer — my herb garden saved me roughly $200 over six months. That’s real money staying in your pocket.
Know Exactly What You’re Eating
When you grow your own herbs, you control everything. No mystery pesticides. No questionable storage conditions. No herbs sitting in a warehouse for weeks before reaching your kitchen. You pick it, you eat it. Simple as that.
Mental Health Benefits Are Real
I’m not being dramatic when I say that tending my herb garden is the most calming part of my day. There’s actual research backing this up — gardening reduces cortisol levels and improves mood. After a stressful workday, spending fifteen minutes watering and pruning my herbs genuinely resets my headspace. It’s cheaper than therapy and smells a whole lot better.
Cooking Transforms Completely
Fresh herbs versus dried herbs in cooking? Night and day difference. Once you start using freshly picked cilantro in your salsa or homegrown thyme in your roasted chicken, there’s no going back. Your food tastes restaurant-quality because, well, restaurants use fresh herbs too.
Environmental Impact
Growing herbs at home means fewer plastic containers from store-bought herbs ending up in landfills. It means zero transportation emissions for getting those herbs to your plate. It’s a small step, but small steps matter.
Beginner Basics: Starting Your Herb Garden the Right Way
Alright, let’s roll up our sleeves and get into the practical stuff. Here’s exactly how to start your herb garden without repeating the mistakes I made.
Step 1: Pick the Right Location
Herbs love sunlight. Most culinary herbs need 6 to 8 hours of direct sunlight daily. This is non-negotiable for herbs like basil, rosemary, thyme, and oregano.
Here’s what I learned the hard way: I initially placed my herb containers against a north-facing wall that I thought got plenty of sun. Turns out, it received maybe three hours of filtered light. Everything grew leggy, pale, and flavorless.
Quick location tips:
- South-facing windows or garden spots get the most consistent sunlight
- East-facing spots work well for herbs that prefer morning sun and afternoon shade (like cilantro and parsley)
- If you’re growing indoors, a sunny windowsill works, but consider supplementing with a basic LED grow light during winter months
- Watch your chosen spot for a full day before planting — shadow patterns change throughout the day
Step 2: Choose Beginner-Friendly Herbs
Don’t try to grow twenty varieties your first season. Start with five or six reliable herbs that are hard to mess up.
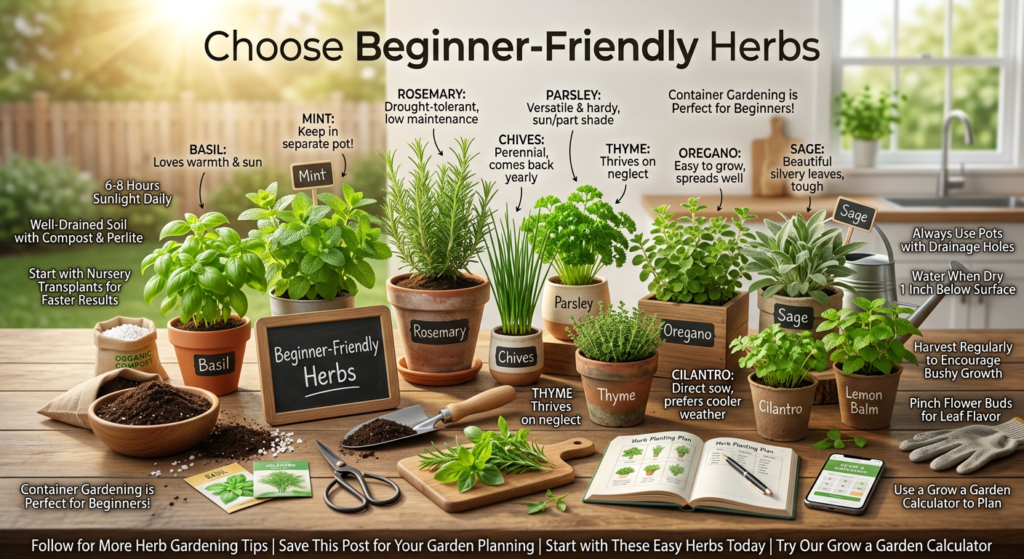
My top recommendations for absolute beginners:
- Basil — The gateway herb. Grows fast, smells amazing, and pairs with almost everything
- Mint — Nearly indestructible (actually, the challenge is stopping it from taking over)
- Rosemary — Drought-tolerant and low maintenance once established
- Chives — Come back year after year with minimal effort
- Parsley — Versatile in cooking and surprisingly hardy
- Thyme — Thrives on neglect, which is perfect for forgetful gardeners
A word of caution about mint: Always grow mint in its own container. I made the mistake of planting it directly in my raised bed, and within two months it had invaded every square inch, choking out my basil and oregano. Mint is the houseguest that never leaves. Keep it contained — literally.
Step 3: Decide Between Seeds and Transplants
For your first herb garden, I strongly recommend starting with nursery transplants (small starter plants) rather than seeds. Here’s why:
- Seeds require patience, consistent moisture, and proper germination conditions
- Transplants give you a head start and quicker harvests
- You can actually see what you’re buying — healthy green leaves, strong stems
- Success rate is significantly higher for beginners
That said, some herbs grow brilliantly from seed even for beginners:
- Cilantro (actually prefers direct sowing because it hates being transplanted)
- Dill
- Basil (germinates quickly and reliably)
Where to buy: Local nurseries typically have healthier plants than big box stores. The plants at my local garden center are always more robust than what I find at major retailers. Farmer’s markets are another goldmine for finding unique herb varieties.
Step 4: Get Your Soil Right
Herbs generally prefer well-drained, moderately fertile soil. This is different from vegetable gardening, where you want super-rich, heavily composted soil.
For container herbs:
Use a high-quality potting mix (not garden soil — it compacts in containers and suffocates roots). I mix in about 20% perlite for extra drainage. Herbs despise sitting in soggy soil.
For raised beds or in-ground planting:
Amend your existing soil with compost and coarse sand to improve drainage. A ratio of about 60% garden soil, 30% compost, and 10% sand or perlite works beautifully.
One mistake I see constantly: People use the richest, most fertilized soil they can find for herbs. Ironically, this often produces lush leafy growth with less flavor. Many herbs — especially Mediterranean ones like rosemary, thyme, oregano, and sage — actually develop stronger essential oils and better flavor in leaner, slightly poor soil. Giving them too much nitrogen is like feeding them junk food. They grow big but taste bland.
Step 5: Container Selection Matters
If you’re growing in pots (which I recommend for beginners), container choice makes a real difference.
Must-have features:
- Drainage holes — absolutely essential, no exceptions
- Adequate size — at least 6 to 8 inches deep for most herbs, 12+ inches for rosemary and larger plants
- Material considerations:
- Terracotta pots are breathable and look gorgeous but dry out faster
- Plastic pots retain moisture longer but can overheat in direct sun
- Fabric grow bags are excellent for drainage and root health
I currently use a mix of terracotta pots on my patio and cedar raised beds in the backyard. The terracotta dries out quicker in midsummer, so I water those daily during heat waves.
Step 6: Watering Without Drowning
Here’s where most beginners go wrong. Overwatering kills more herb plants than underwatering ever will.
General watering guidelines:
- Stick your finger about an inch into the soil. If it feels dry, water. If it’s still moist, wait.
- Water deeply but less frequently rather than giving shallow sips every day
- Morning watering is ideal — gives foliage time to dry before nightfall, reducing disease risk
- Container herbs dry out faster than in-ground herbs, especially in summer
Herb-specific tips:
- Basil likes consistently moist (not wet) soil
- Rosemary prefers to dry out between waterings — treat it like a succulent’s cousin
- Mint is thirstier than most herbs and can handle more moisture
- Thyme and oregano prefer drier conditions
I use a simple moisture meter (costs about $10) for my containers. It eliminated all the guesswork and honestly saved several plants from my overzealous watering habits.
Step 7: Feeding Your Herbs
Most herbs are light feeders. A dose of balanced liquid fertilizer (diluted to half strength) every four to six weeks during the growing season is plenty.
What I use: An organic fish emulsion fertilizer once a month. Fair warning — it smells absolutely terrible when you first apply it, but the results speak for themselves. My basil leaves doubled in size after I started using it consistently.
Avoid over-fertilizing. Like I mentioned earlier, too much fertilizer creates big, leafy plants with diluted flavor. You want compact, intensely aromatic herbs, not giant bland ones.
Featured Guides: Deep Dives Into Specific Herb Topics
Growing Herbs Indoors Year-Round
Don’t let winter stop your herb gardening. With a sunny window and a few adjustments, you can grow basil, chives, parsley, and mint indoors through the cold months. The key is supplemental lighting — a basic full-spectrum LED grow light running 12 to 14 hours daily makes all the difference. I keep a small indoor herb garden kit on my kitchen counter from November through March, and it produces enough fresh herbs for weekly cooking.
Companion Planting with Herbs
Herbs aren’t just for cooking — they’re incredible companion plants for your vegetable garden. Basil planted near tomatoes may improve tomato flavor and repel certain pests. Dill attracts beneficial insects like ladybugs and lacewings. Rosemary and sage deter cabbage moths. Planting herbs strategically throughout your vegetable beds creates a healthier, more balanced garden ecosystem.
Preserving Your Herb Harvest
When your herbs produce more than you can use fresh, preservation becomes essential. My favorite methods:
- Air drying — tie bundles of rosemary, thyme, oregano, and sage and hang them upside down in a warm, dry area
- Freezing in olive oil — chop soft herbs like basil and cilantro, pack them into ice cube trays, cover with olive oil, and freeze. Perfect for tossing into soups and sauces all winter
- Making herb butter — blend fresh herbs into softened butter, roll into a log, and freeze
- Herb salt — blend fresh herbs with coarse sea salt and dehydrate. Makes an incredible homemade seasoning
Container Herb Garden Design Ideas
You don’t need a yard to grow a gorgeous herb garden. Window boxes, hanging planters, vertical wall gardens, tiered plant stands, and repurposed containers all work beautifully. I’ve seen stunning herb gardens grown in old colanders, wooden crates, and even rain gutters mounted on fence walls. Get creative with your space.
Medicinal and Wellness Herbs
Beyond cooking, many herbs have traditional wellness uses. Chamomile for calming tea. Lavender for relaxation and sleep sachets. Peppermint for soothing digestive discomfort. Lemon balm for stress relief. Growing a dedicated medicinal herb section in your garden adds another layer of usefulness to your plants.
Related Posts You’ll Find Helpful
- Fruit Gardening for Beginners: Start Growing Fresh Fruit at Home
- Vegetable Gardening 101: A Complete Starter Guide
- Organic Pest Control Methods for Home Gardens
- How to Use a Grow a Garden Calculator for Planning Your Space
Common Herb Gardening Mistakes (And How I Fixed Them)
Before we hit the FAQs, let me share some real mistakes I’ve made so you can side-step them entirely.
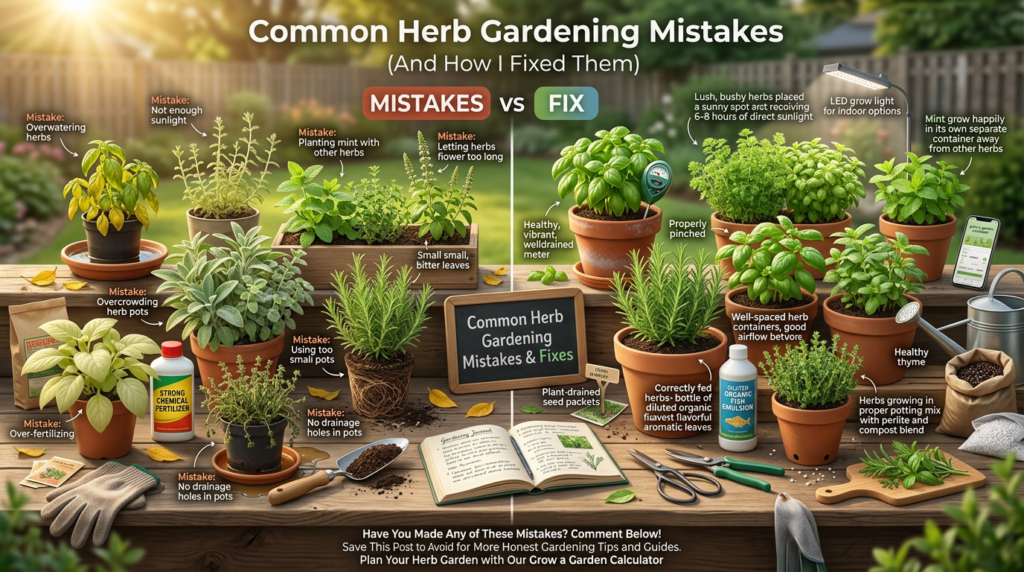
Mistake 1: Letting herbs flower too long
When herbs bolt (send up flower stalks), the leaves often become bitter. I let my basil flower for weeks because the blooms were pretty. The leaves tasted awful. Now I pinch off flower buds as soon as they appear to keep the plant producing tender, flavorful leaves.
Mistake 2: Harvesting too timidly
I used to snip one tiny leaf at a time, afraid of hurting the plant. Turns out, herbs want to be harvested regularly. Frequent cutting encourages bushier, fuller growth. For basil, I now cut entire stem sections right above a leaf node, and the plant branches out even thicker.
Mistake 3: Ignoring airflow
I packed my herb pots too close together one summer. Poor air circulation led to powdery mildew on my sage and oregano. Now I space my containers at least 6 inches apart and prune inner growth to keep things open and breezy.
Mistake 4: Using the wrong pot size
I once tried growing rosemary in a 4-inch pot. The roots had nowhere to go, the plant got root-bound within weeks, and growth completely stalled. Rosemary needs room — I now give it at least a 12-inch container, and it’s thriving.
Frequently Asked Questions
What are the easiest herbs to grow for absolute beginners?
Basil, mint, chives, parsley, and rosemary are consistently the most forgiving herbs for new gardeners. They tolerate minor mistakes in watering and light and still produce usable harvests. Mint is probably the single easiest — sometimes the challenge is keeping it under control rather than keeping it alive.
Can I grow herbs indoors all year round?
Yes, absolutely. Herbs like basil, chives, parsley, mint, and thyme grow well indoors with adequate sunlight or supplemental grow lights. Place them near a south-facing window that gets at least 6 hours of light. During darker winter months, a basic LED grow light makes a huge difference. Indoor herbs tend to grow slower than outdoor ones, but they still produce enough for regular kitchen use.
How often should I water my herbs?
It depends on the herb, container size, and weather conditions. As a general rule, check the soil moisture by pressing your finger an inch into the soil. Water when it feels dry. Most container herbs need watering every 1 to 3 days in summer and less frequently in cooler weather. Mediterranean herbs like rosemary, thyme, and oregano prefer drier soil, while basil and mint enjoy consistent moisture.
Should I grow herbs from seeds or buy starter plants?
For beginners, starter plants from a nursery are the faster and more reliable option. You get quicker harvests and a higher success rate. However, some herbs like cilantro, dill, and basil grow easily from seed even for first-timers. As you gain confidence, experimenting with seed starting becomes a fun and economical way to expand your garden.
Why do my herbs taste bland?
Several factors cause bland herbs. Over-fertilizing produces big leaves with diluted essential oils. Insufficient sunlight reduces flavor intensity. Overwatering can also dilute flavor. And harvesting at the wrong time matters — herbs have the strongest flavor in the morning, after the dew has dried but before the midday heat causes essential oils to evaporate.
Can different herbs grow together in the same pot?
Some can, but be careful with pairings. Group herbs with similar water and sunlight needs together. Good companions: rosemary, thyme, sage, and oregano (all prefer drier, sunny conditions). Bad pairings: mint with anything else (it takes over), or basil with drought-loving herbs (basil needs more water). I keep my moisture-loving herbs separate from my Mediterranean drought-tolerant herbs.
When is the best time to harvest herbs?
Harvest herbs in the morning after the dew has evaporated but before the sun gets intense. This is when essential oil concentrations are highest, giving you the most flavorful leaves. Regular harvesting encourages new growth, so don’t be shy about cutting. As a rule of thumb, never remove more than one-third of the plant at once.
How do I keep herbs alive during winter?
For perennial herbs like rosemary, thyme, sage, and chives, apply a thick layer of mulch around the base before the first frost to insulate roots. Alternatively, bring potted herbs indoors and place them under grow lights. Annual herbs like basil won’t survive frost outdoors, so harvest everything before cold weather arrives and preserve it by drying, freezing, or making herb-infused oils.
Do herbs attract pests?
Some herbs actually repel pests, which makes them excellent companion plants. However, herbs can still attract aphids, spider mites, whiteflies, and slugs. Check your plants regularly, especially the undersides of leaves. A strong spray of water knocks off most aphids. For persistent problems, neem oil or insecticidal soap works well without harsh chemicals.
What tools do I need for herb gardening?
You don’t need much. A basic setup includes: a hand trowel, small pruning shears or herb scissors, a watering can with a narrow spout, a moisture meter (optional but helpful), quality potting mix, containers with drainage holes, and some slow-release organic fertilizer. That’s genuinely it. Herb gardening is one of the most affordable forms of gardening to get started with.
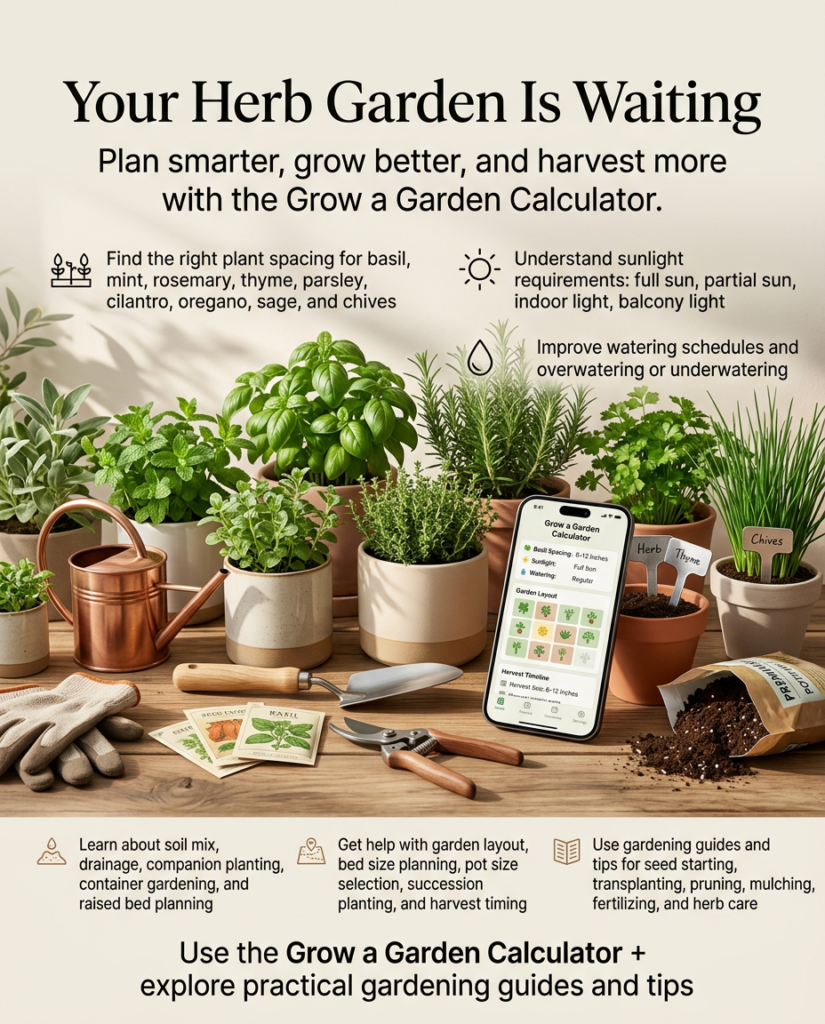
Your Herb Garden Is Waiting
Look, I won’t pretend that herb gardening is completely foolproof. You’ll probably overwater something. You might pick the wrong spot for your rosemary. Your mint will try to take over the world.
But that’s part of the fun. Every small mistake teaches you something, and herbs are remarkably resilient. They bounce back faster than almost any other plant I’ve grown.
Start with two or three pots on a sunny windowsill. Pick herbs you actually cook with — there’s no point growing tarragon if you never use it. Water carefully, give them good light, harvest often, and watch them flourish.
And if you’re trying to figure out how many plants fit in your space, how much sunlight your garden spot actually gets, or what to grow based on your climate zone, tools like a grow a garden calculator can take the guesswork out of planning. Pair that with these tips, and you’ve got everything you need.
Your kitchen deserves fresh herbs. Your taste buds deserve better flavor. And honestly? You deserve the quiet satisfaction of growing something beautiful and useful with your own two hands.
Now go get your hands dirty. 🌿